Server Management
Installing SQL Server – A step-by-step tutorial (with screenshots) | Storm Internet
Microsoft SQL Server has evolved beyond a mere database management system. Today it’s a data platform that does intelligence, security, and AI in addition to databases. And it’s not just for Windows machines either; MS SQL Server now runs on Linux, too. Below we’ll cover the installation of MS SQL Server 2019 Express Edition on Windows which is 100% free and built for production (live) environments.
To WordPress, or not…?
But first, a heads up:
At some point during the entire process of writing this article I thought to myself, “Why?” I initially toyed with the idea to install WordPress on a local machine using SQL as the database management system, rather than the default MySQL. It’s not an impossible feat – Project Nami is WordPress that runs on SQL Server.
But it’s a tedious process that gets a little complicated, and requires multiple pieces of software – not least of which is MS Web PI which simplifies the installation of PHP on the Microsoft IIS web server. But given that MS Web PI is being retired on July 1st of this year (2022), getting PHP to run on IIS isn’t as simple. And let’s face it, you’re reading this article because you want simple.
As such, if you want to run WordPress (or any other app / installation that requires PHP + MySQL by default) on your local machine, I would suggest installing Plesk (recommended) or XAMPP which comes bundled with a web server, PHP, and MySQL.
Note: If you’re a Storm Internet customer, things are a lot easier:
- Just submit a request to support, and we’ll install pretty much anything you want.
- Need to migrate an existing MS SQL database to your Storm server? Again, submit a ticket to Storm Support and we’ll take care of the entire migration.
Should you wish to install MS SQL on your own for any other reason, or if you’re not a Storm customer, then follow the instructions below to get your first MS SQL database up and running.
A quick word on MS SQL licensing
From Microsoft’s SQL Server Installation guide:
SQL Server Enterprise, Standard, and Express Editions are licensed for production use. For the Enterprise and Standard Editions, contact your software vendor for the installation media. You can find purchasing information and a directory of Microsoft partners on the Microsoft licensing page.
Simple enough, right? Well, almost. Software licensing is invariably a tricky business, and MS SQL is no exception.
At present standard commercial MS SQL licenses allow installation only on dedicated hardware. In other words, a physical server. Should you wish to use your own MS SQL license on your cloud-based Windows server, you’ll have to ensure that your host is a Microsoft Authorized Mobility Partner.
If you don’t yet have an MS SQL license, then you’re in luck:
- Most hosts have volume licensing in place, which allows them to provide a license suitable for a specific operating environment (ie. cloud) to you, usually at a monthly rate. Storm, for example, provides MS SQL Web Edition at £20/month per 2 CPU cores, and MS SQL Standard Edition at £150/month per 2 CPU cores
- Or you can request MS SQL Express Edition which is free and ideal for lightweight production environments. Alternatively, you can use SQL Server 2019 Developer which is also free, but not licensed for production, so install it on your local machine or a cloud-based test / development server only.
We’ll use MS SQL Express Edition for this tutorial.
Install MS SQL
As with many things Microsoft, installation is fairly straightforward and can be completed without any technical expertise. The various installation steps are outlined below:
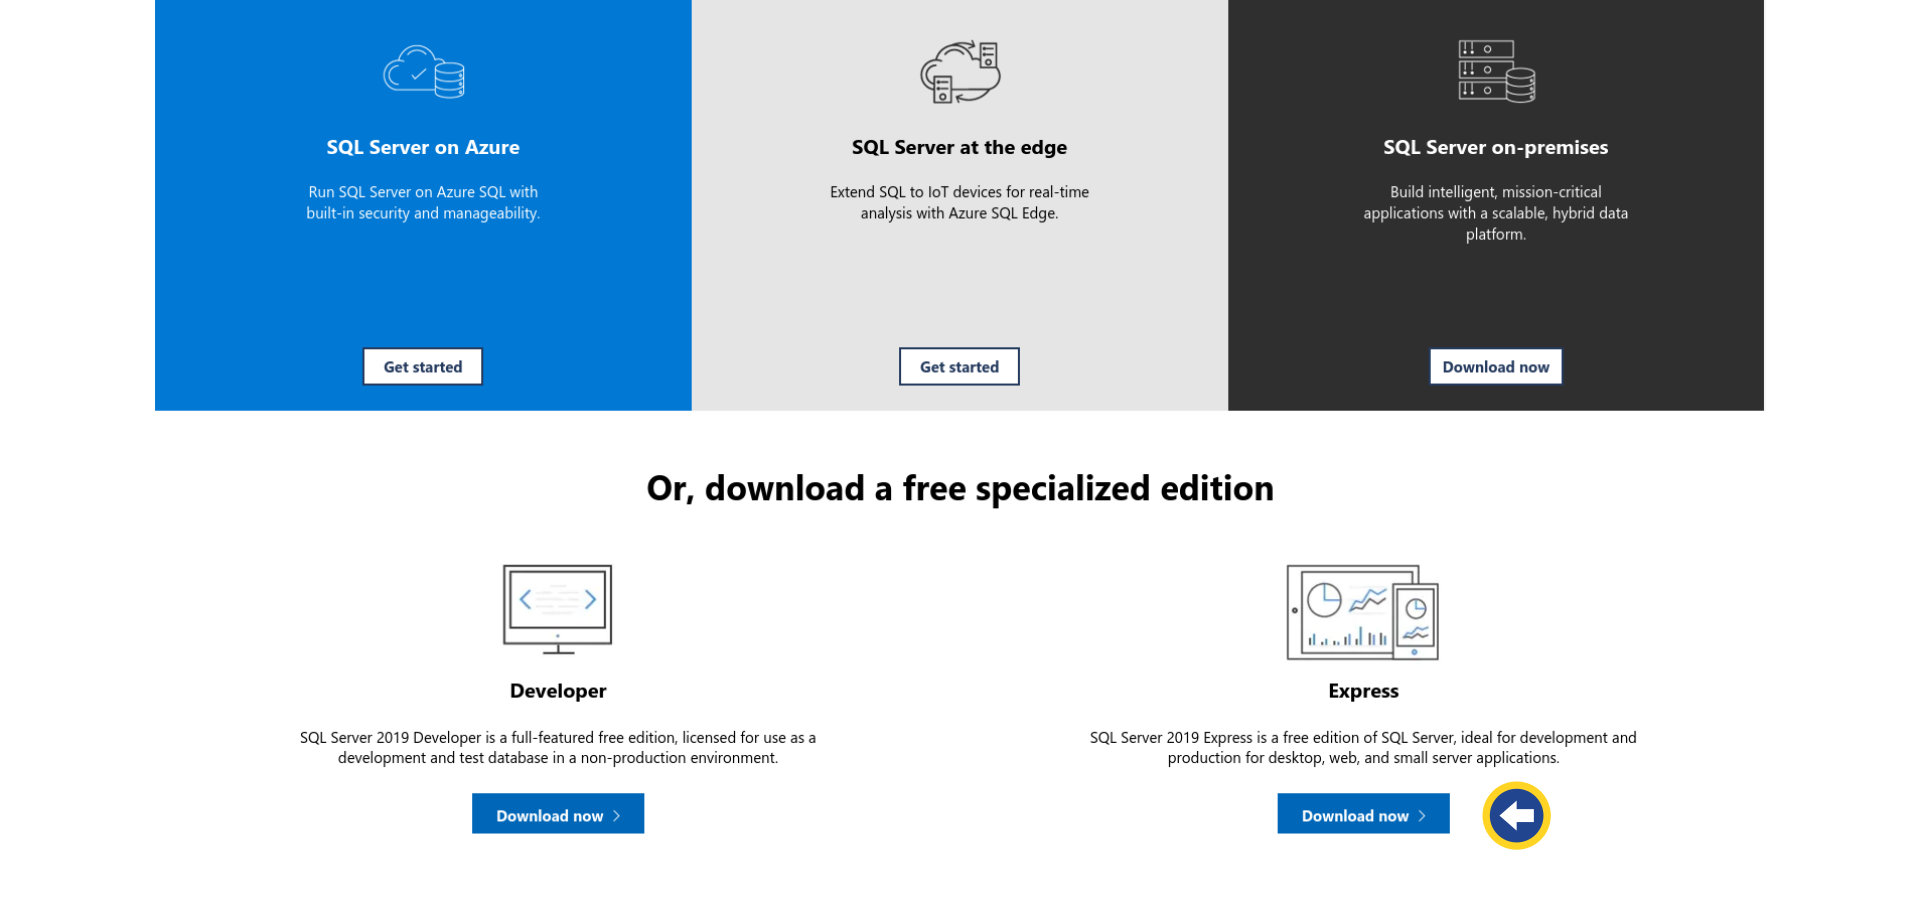
Step 1: Download MS SQL Express Edition
Get started with the installation process by downloading MS SQL Express Edition from Microsoft’s SQL Server Downloads page. Note: You may have to scroll down a little to see the Developer and Express editions. Choose the Express Edition.
File name: SQL2019-SSEI-Expr.exe | Size: 6,231KB
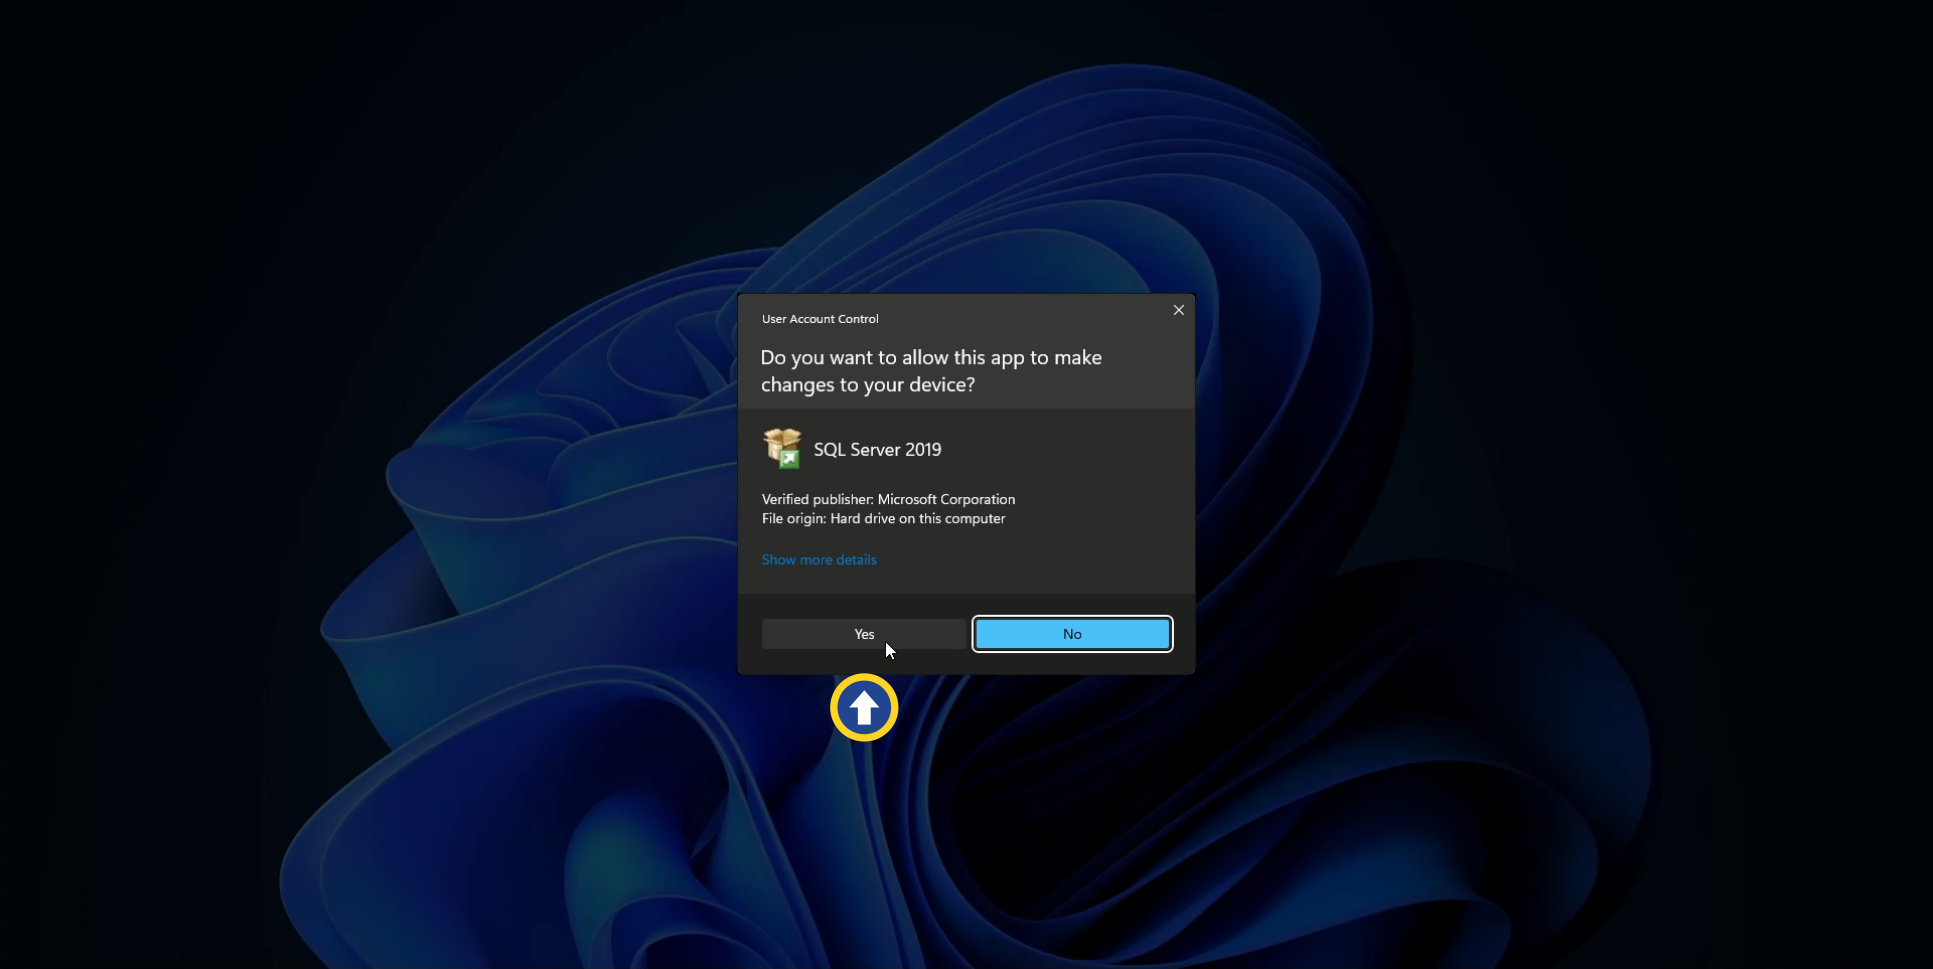
Step 2: Run the MS SQL Install
Locate SQL2019-SSEI-Expre.exe in your downloads folder, and double-click the file. User Account Control (UAC) will pop up and ask for permission. Click Yes.
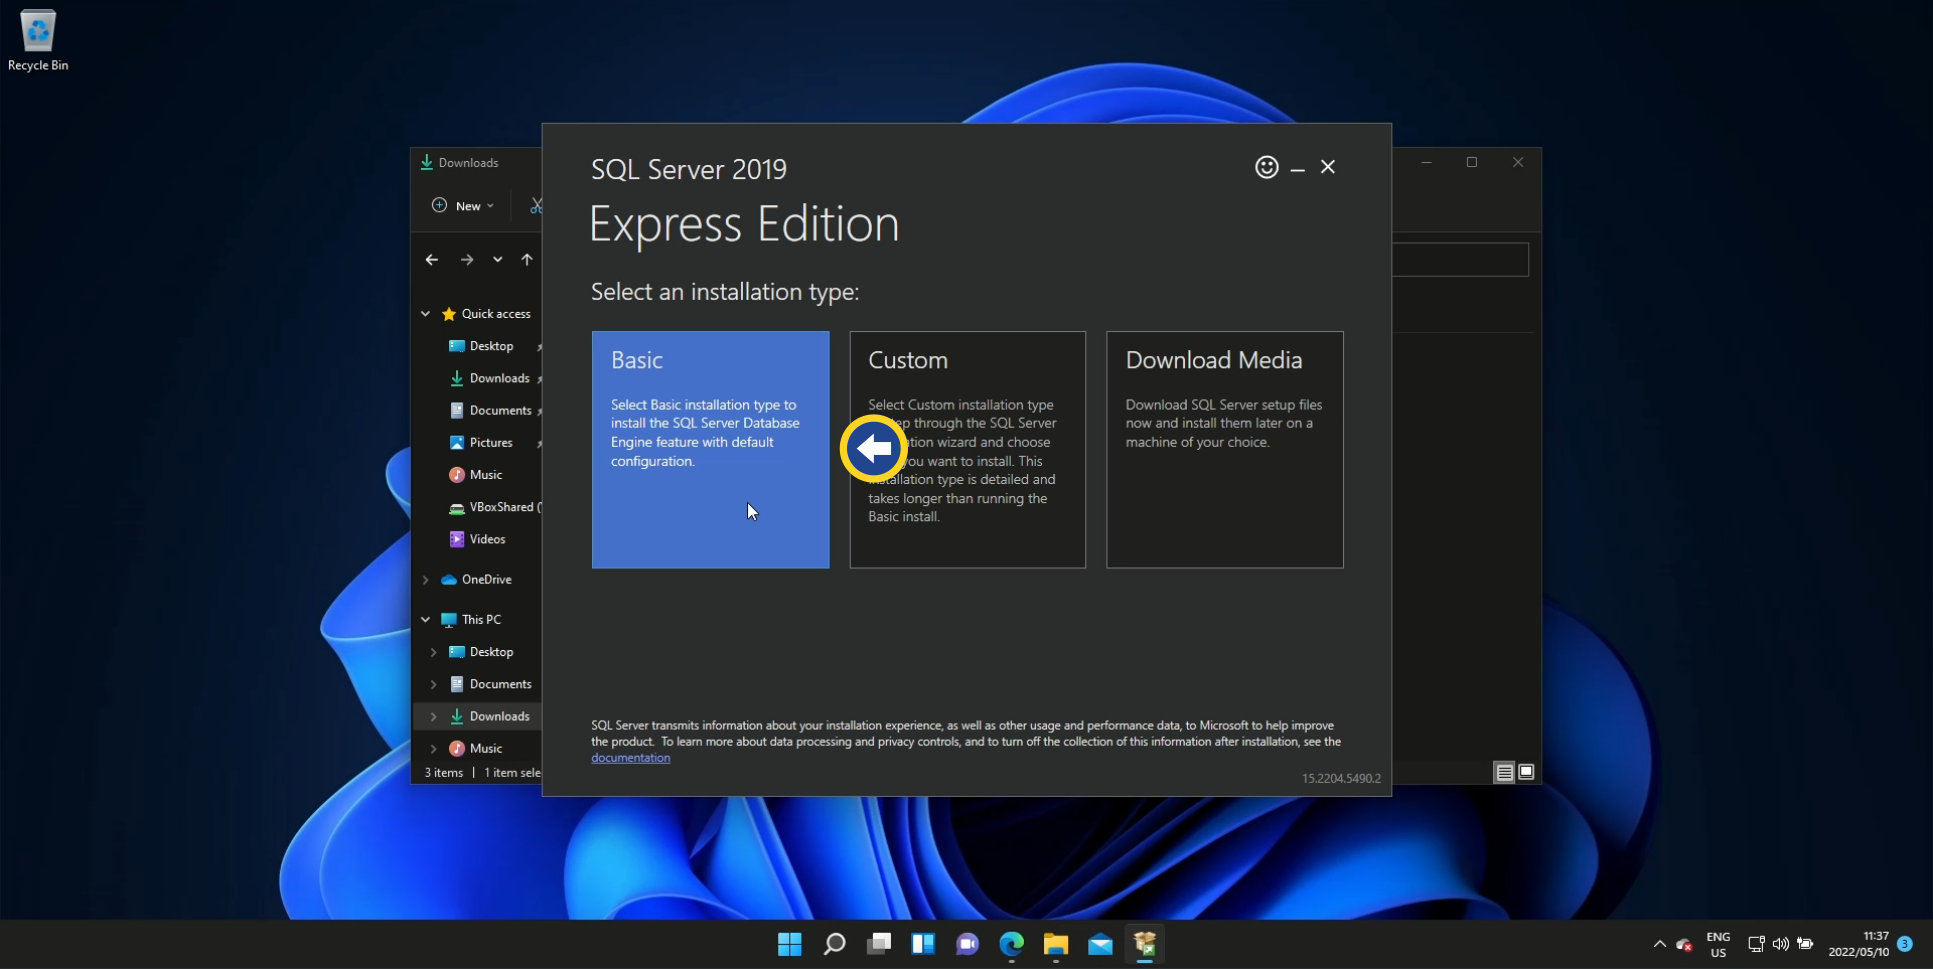
Step 3: Select the installation type
With more power options come more responsibility, which invariably requires some technical know-how. Since our goal is simply to get an MS SQL database running, select Basic on the Installation Type selection screen.
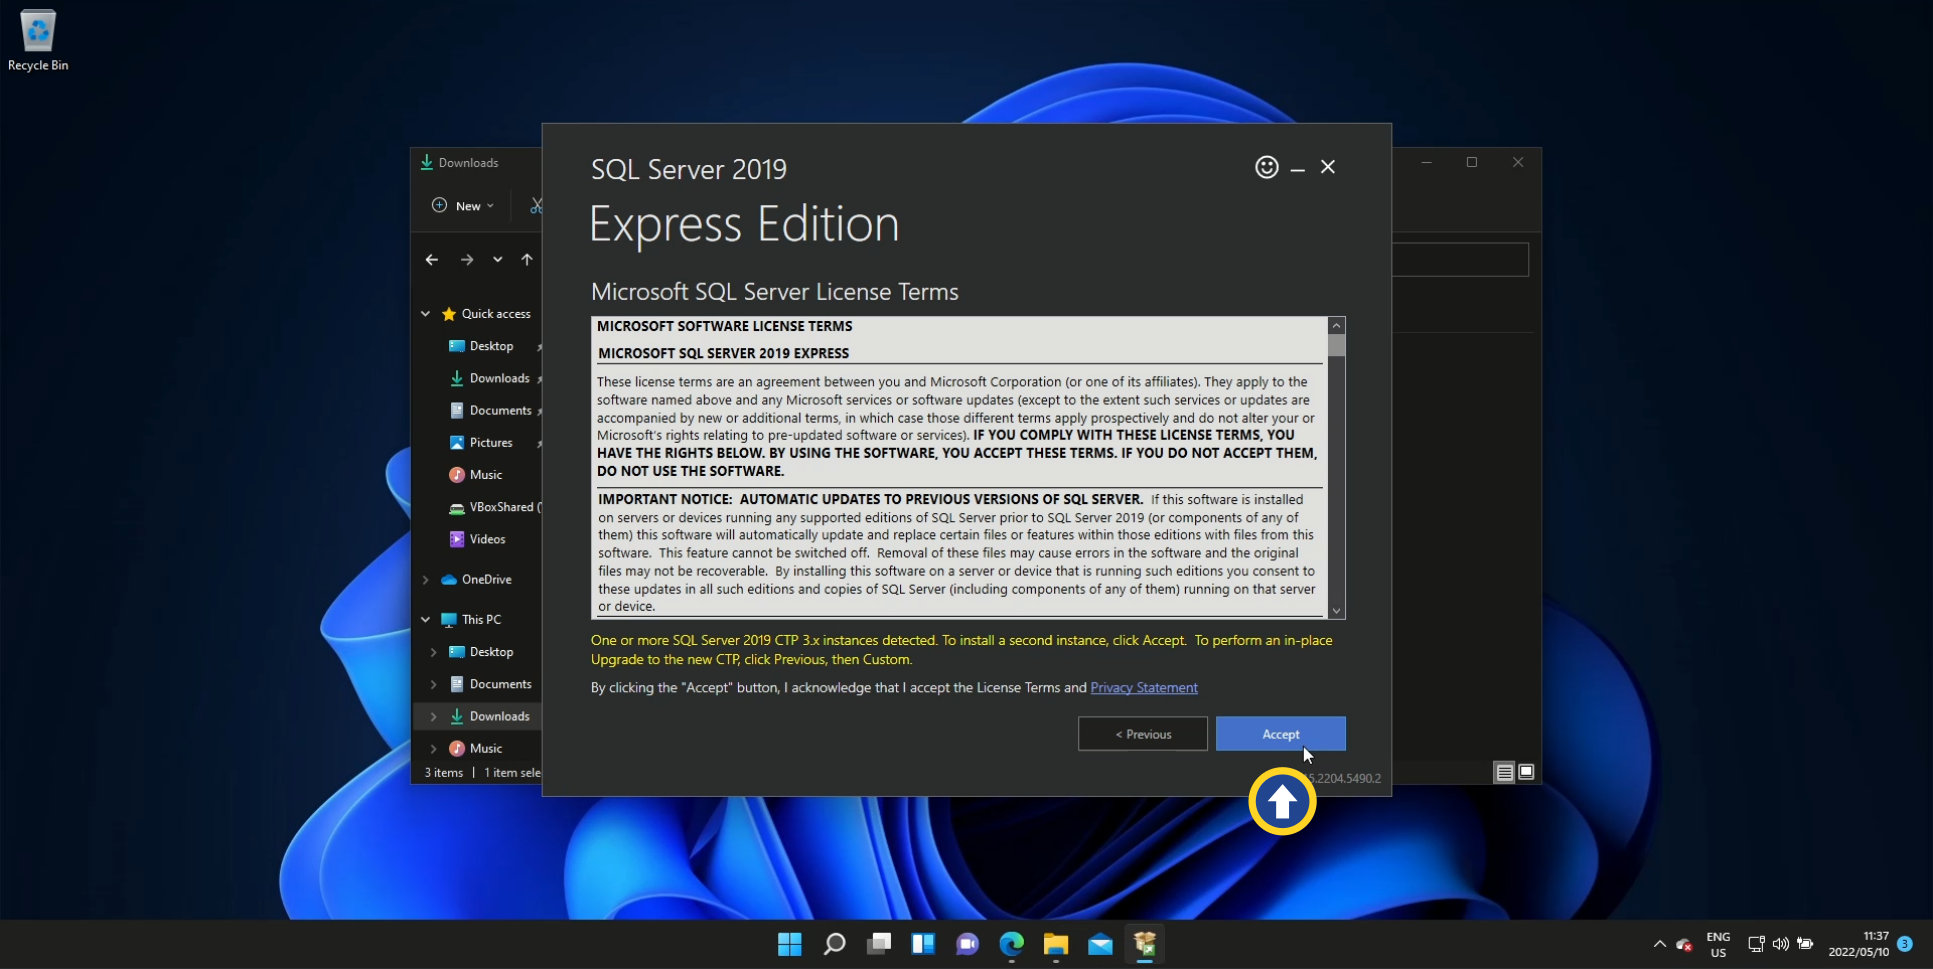
Step 4: Microsoft SQL Server License Terms
Get yourself a nice cuppa and peruse the terms at your own leisure. Satisfied? Click Accept.
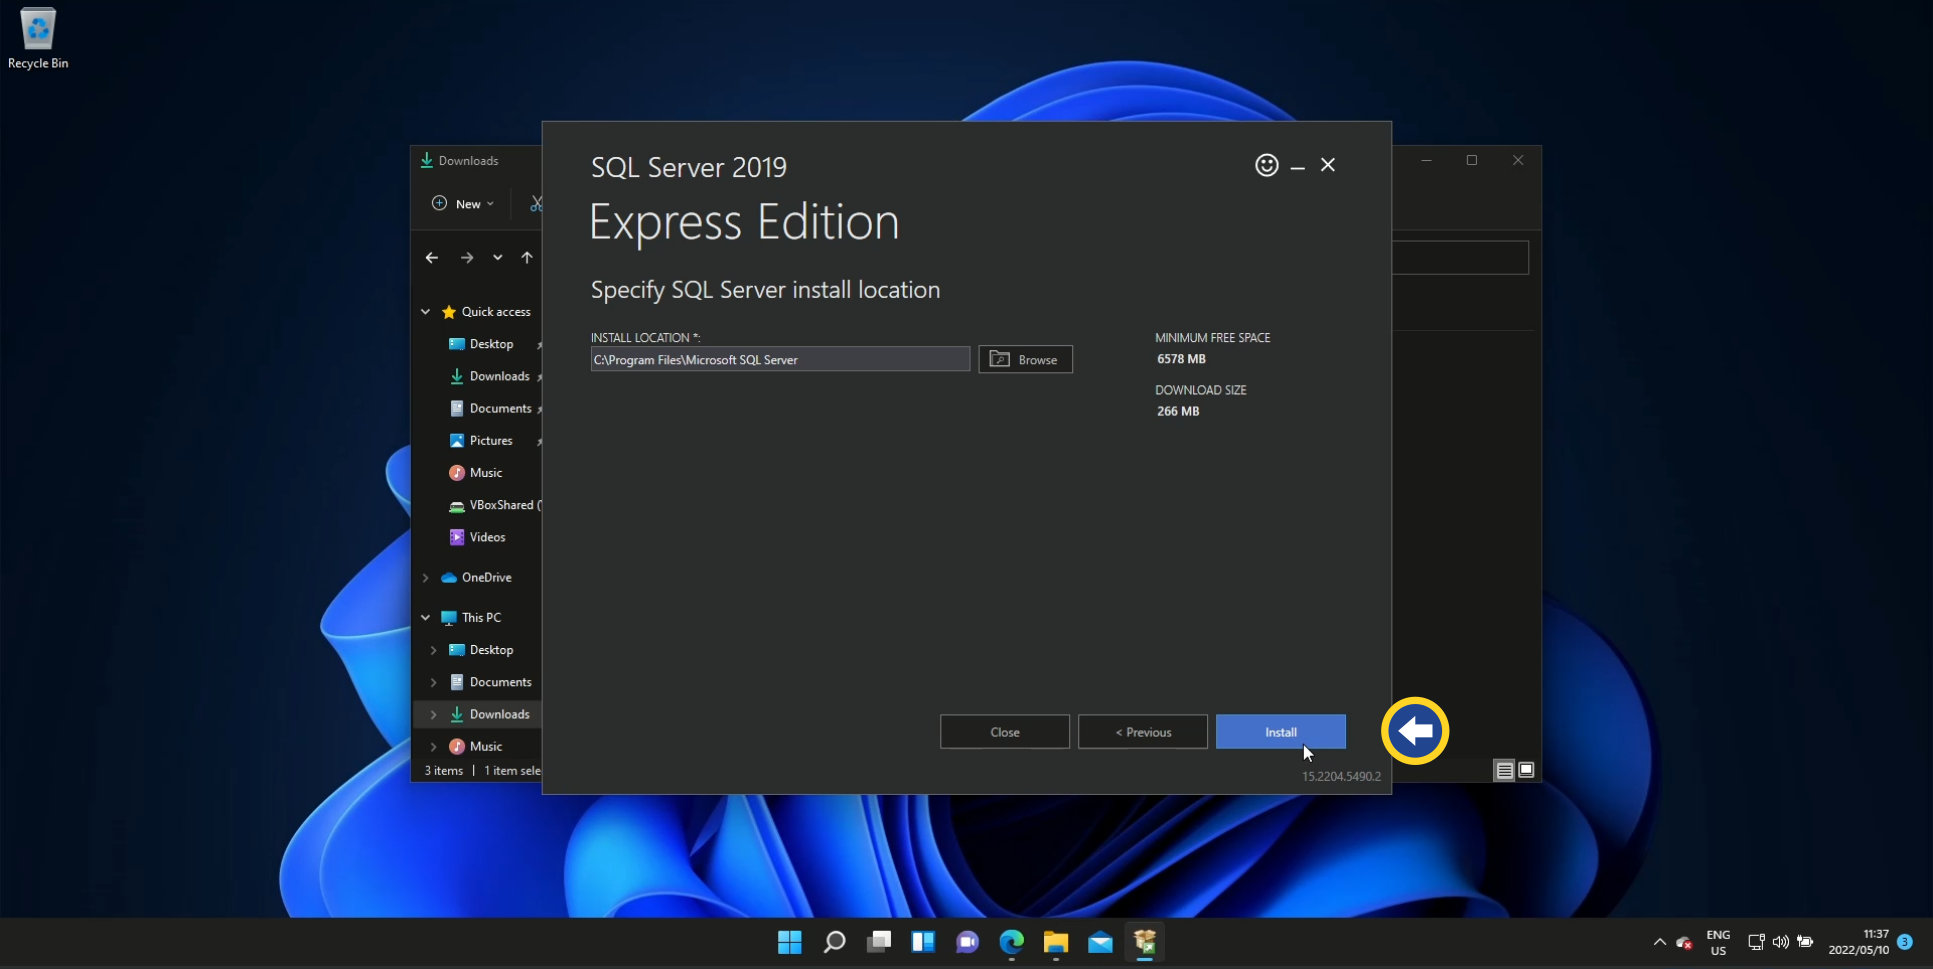
Step 5: Install location
If you’re not happy with the default installation location, feel free to install MS SQL in a folder of your choice. When you’re ready, click Install.
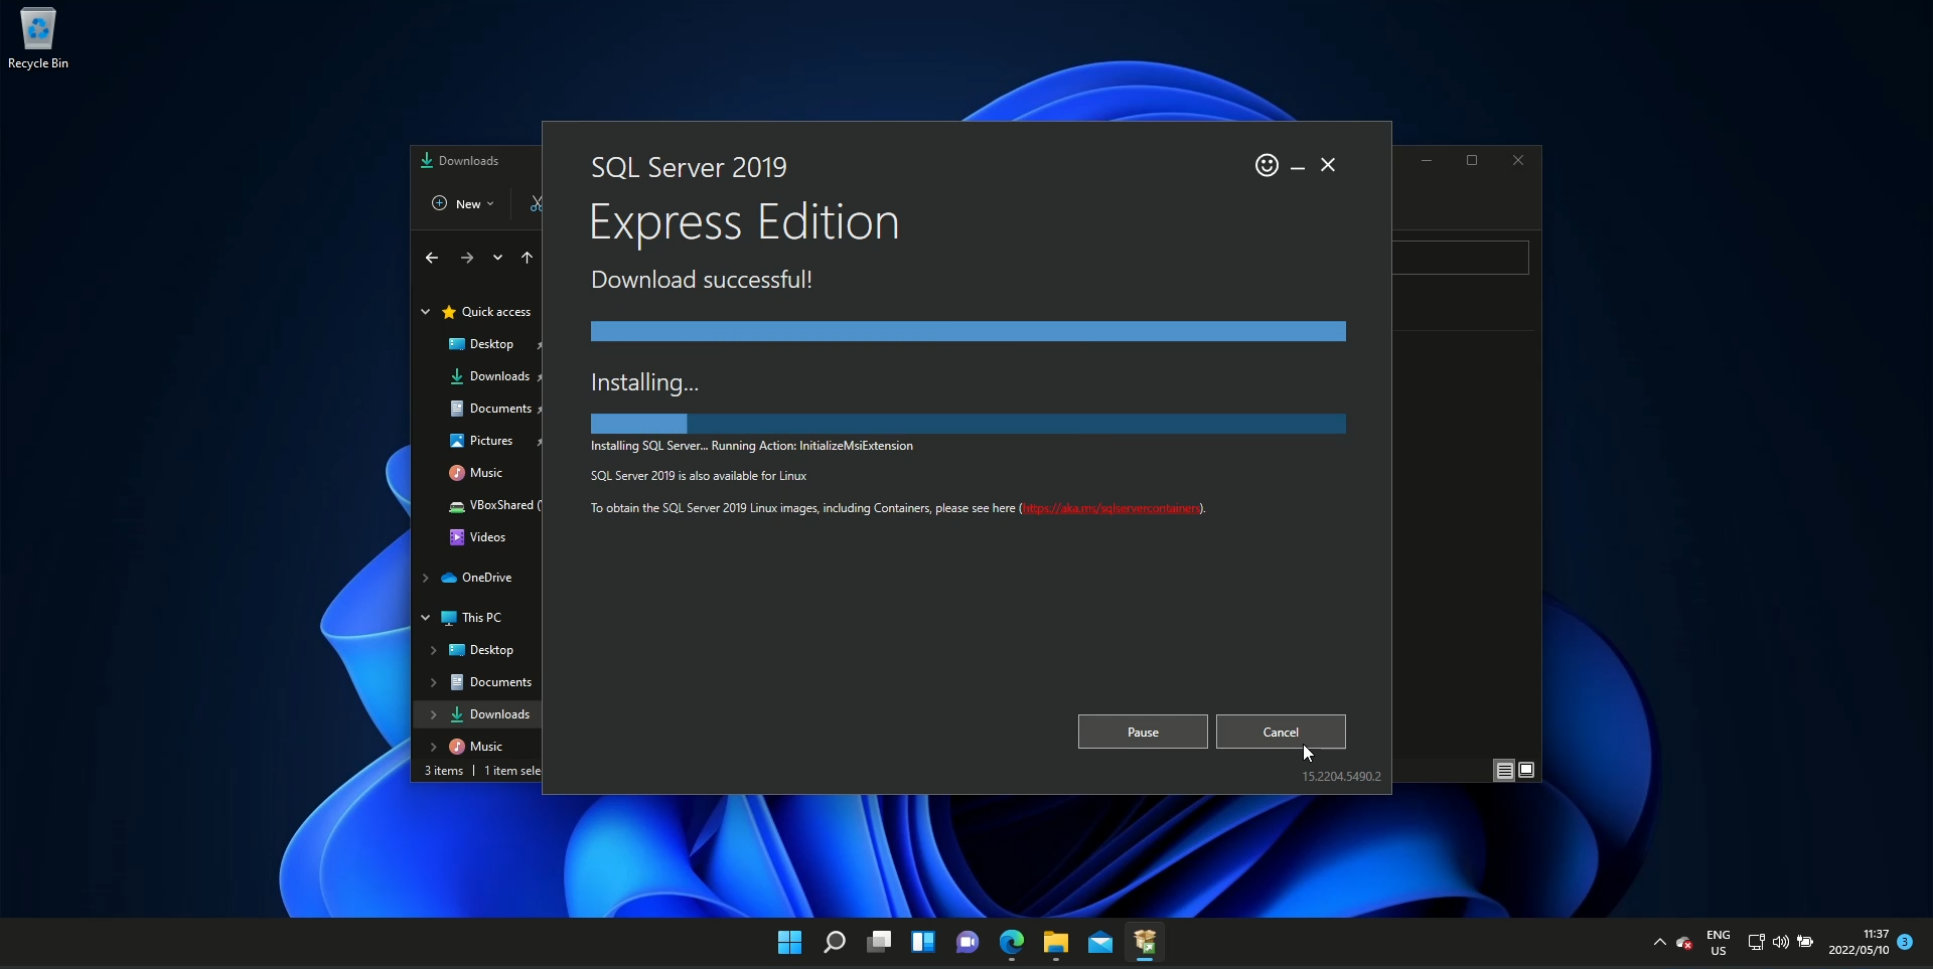
Step 6: Installation commences
While you’re waiting for the installation to complete, here’s a fun fact: Back in 2020 Vision Direct commissioned a research study in the UK and US to tally up screen time over a lifetime. A poll of 2,000 British adults revealed that the average Brit spends roughly 34 years staring at screens. The same poll sent across the pond to 2,000 adults in the US, found that they spend 10 years more, or a total of 44 years, doing the same.
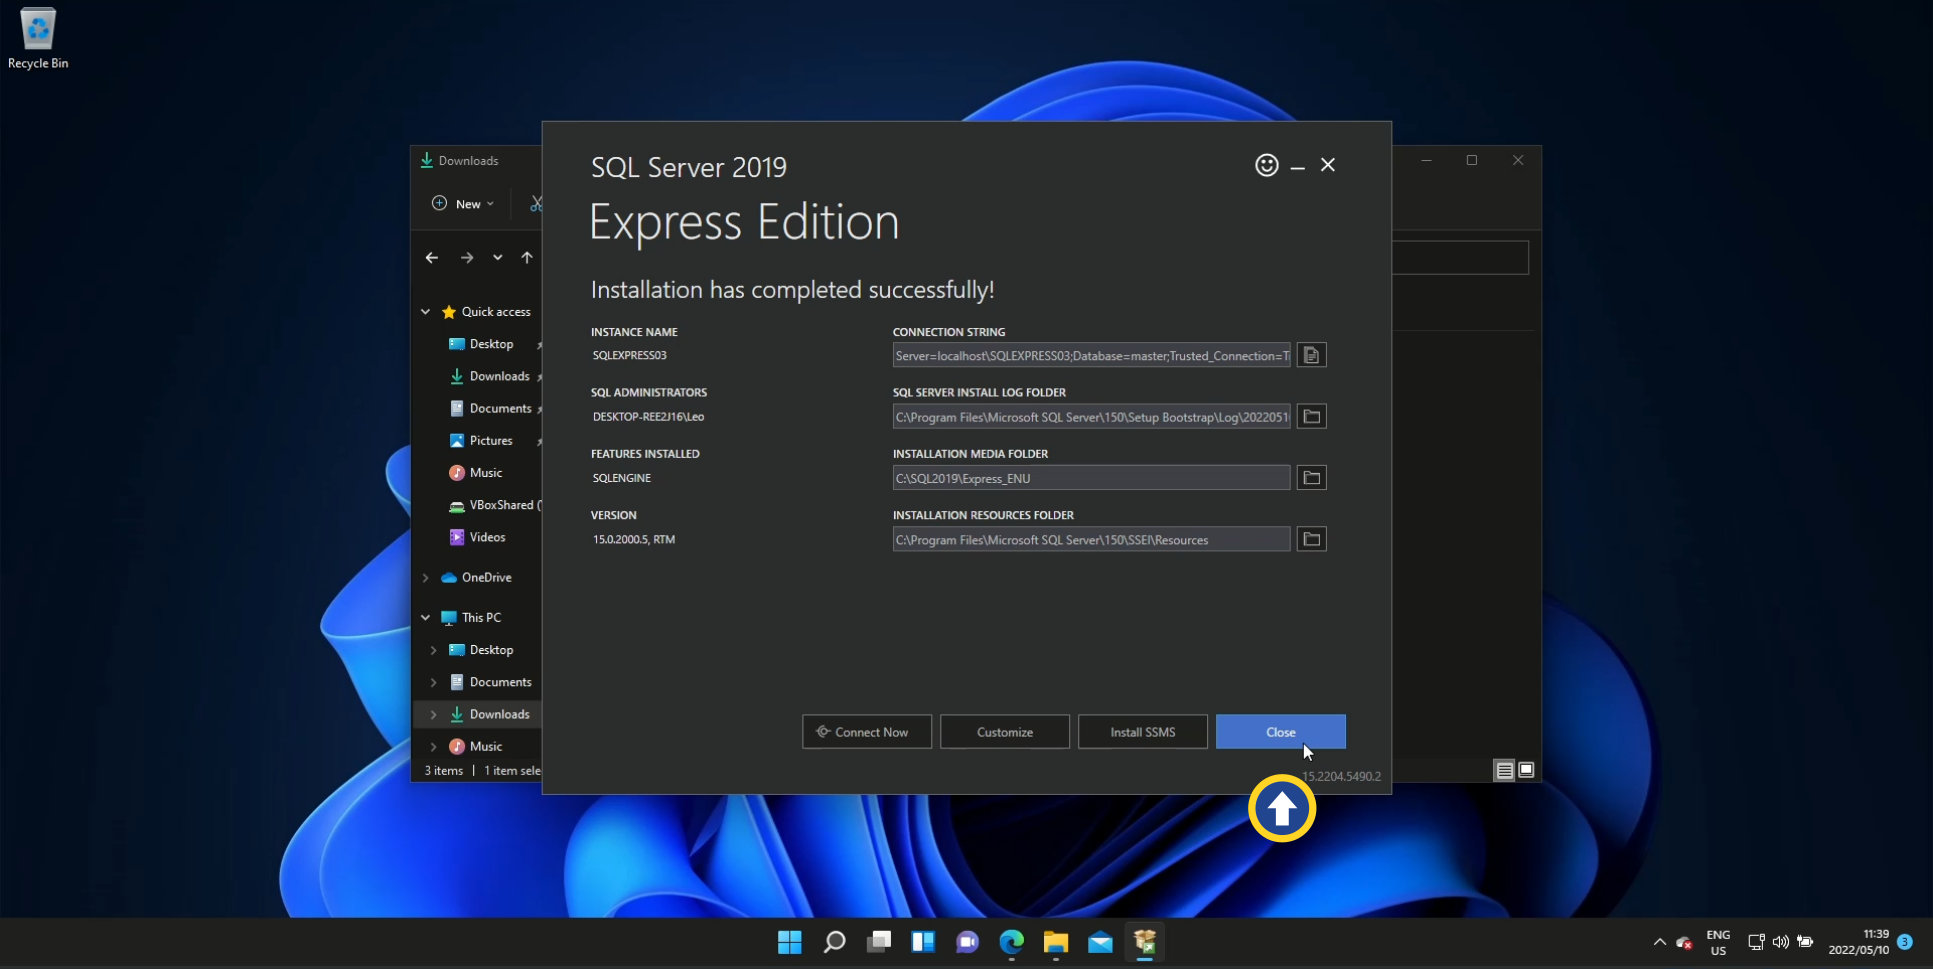
Step 7: Installation complete
On the final screen of the installation dialog, you have the option to change some of the internal options of your MS SQL installation. Leave the defaults as they are, and click Close.
Step 8: SQL Server Management Studio
Our installation of MS SQL is now complete and the potential is there to start creating and managing databases. This can be done by entering the following SQL statement into the command-line query tool:
CREATE DATABASE database_name;
But unless you have some experience with the command line or code, you may find it a little intimidating – not only creating a database but managing one or more databases down the line.
In typical Microsoft fashion, there is a tool that simplifies the creation and overall management of databases. It’s called SQL Server Management Studio.
From Microsoft’s website:
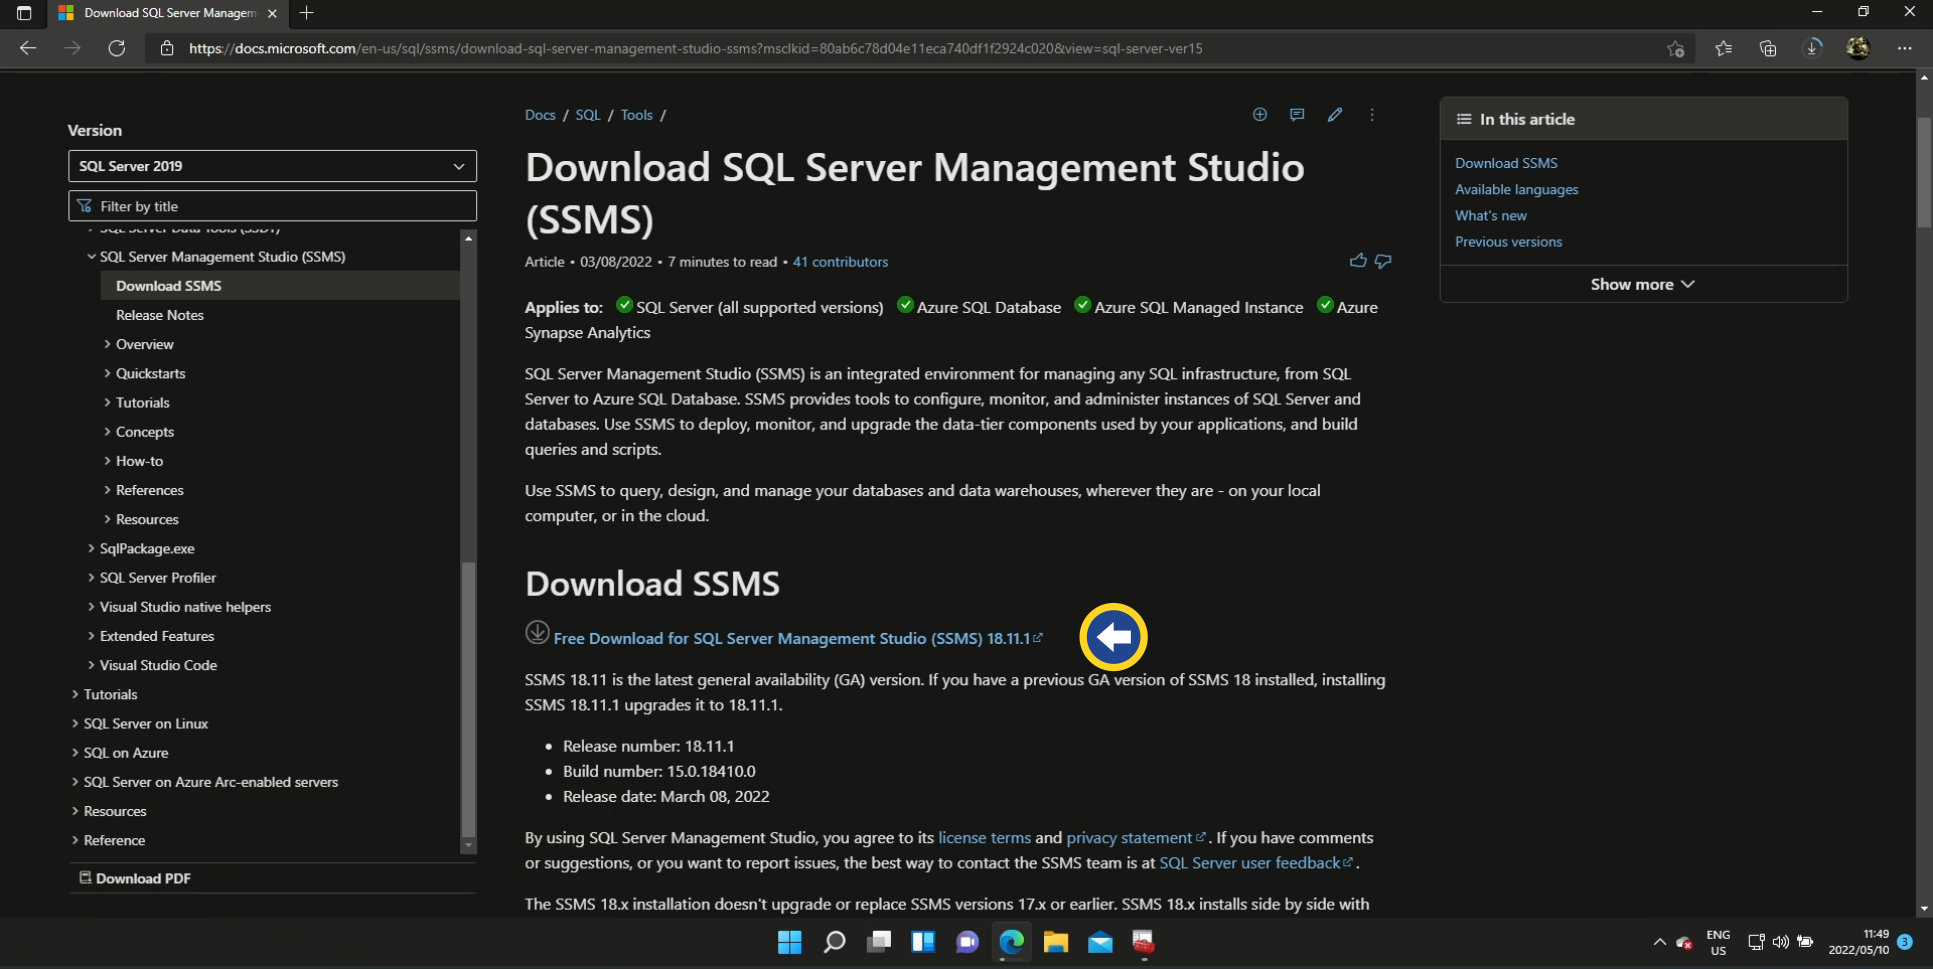
SQL Server Management Studio (SSMS) is an integrated environment for managing any SQL infrastructure, from SQL Server to Azure SQL Database. SSMS provides tools to configure, monitor, and administer instances of SQL Server and databases. Use SSMS to deploy, monitor, and upgrade the data-tier components used by your applications, and build queries and scripts.
Download SQL Server Management Studio here.
Filename: SSMS-Setup-ENU.exe | Size: 675MB
Step 9: Install SQL Server Management Studio
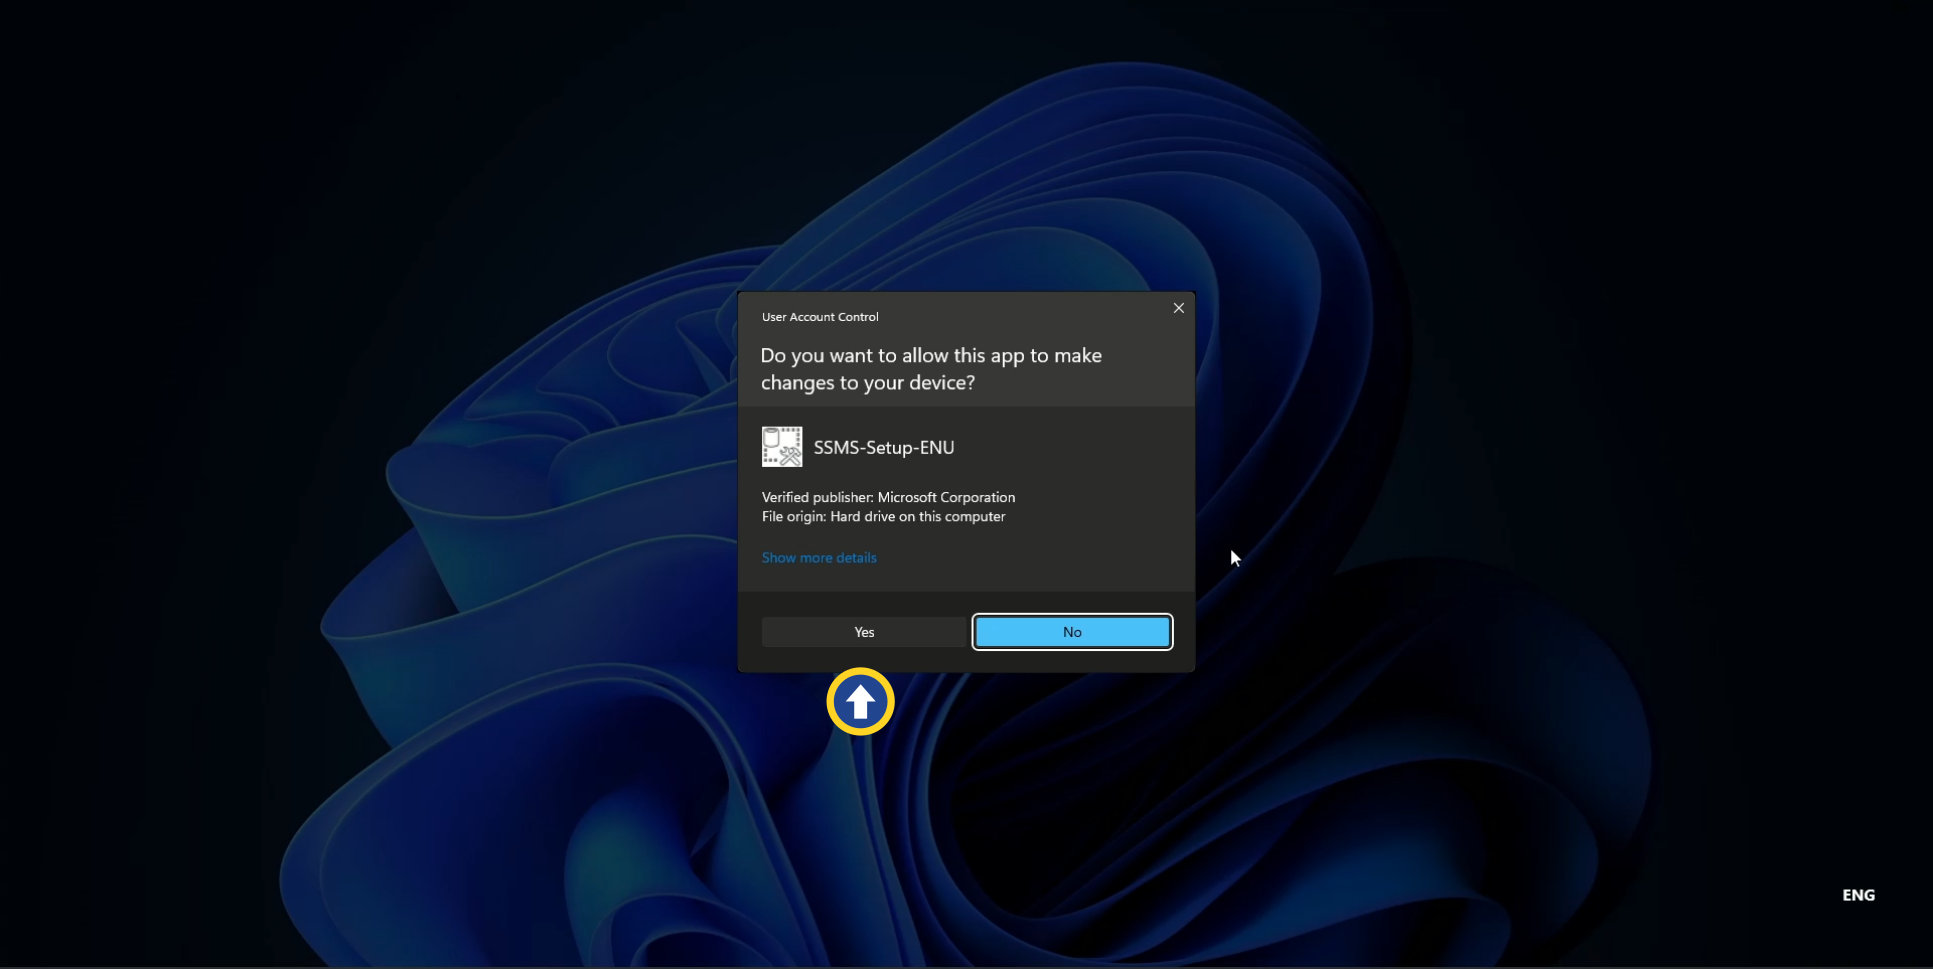
Locate the SSMS-Setup-ENU.exe file in your downloads folder, and double-click to run it. UAC will again ask for permission to begin the installation process. Click Yes.
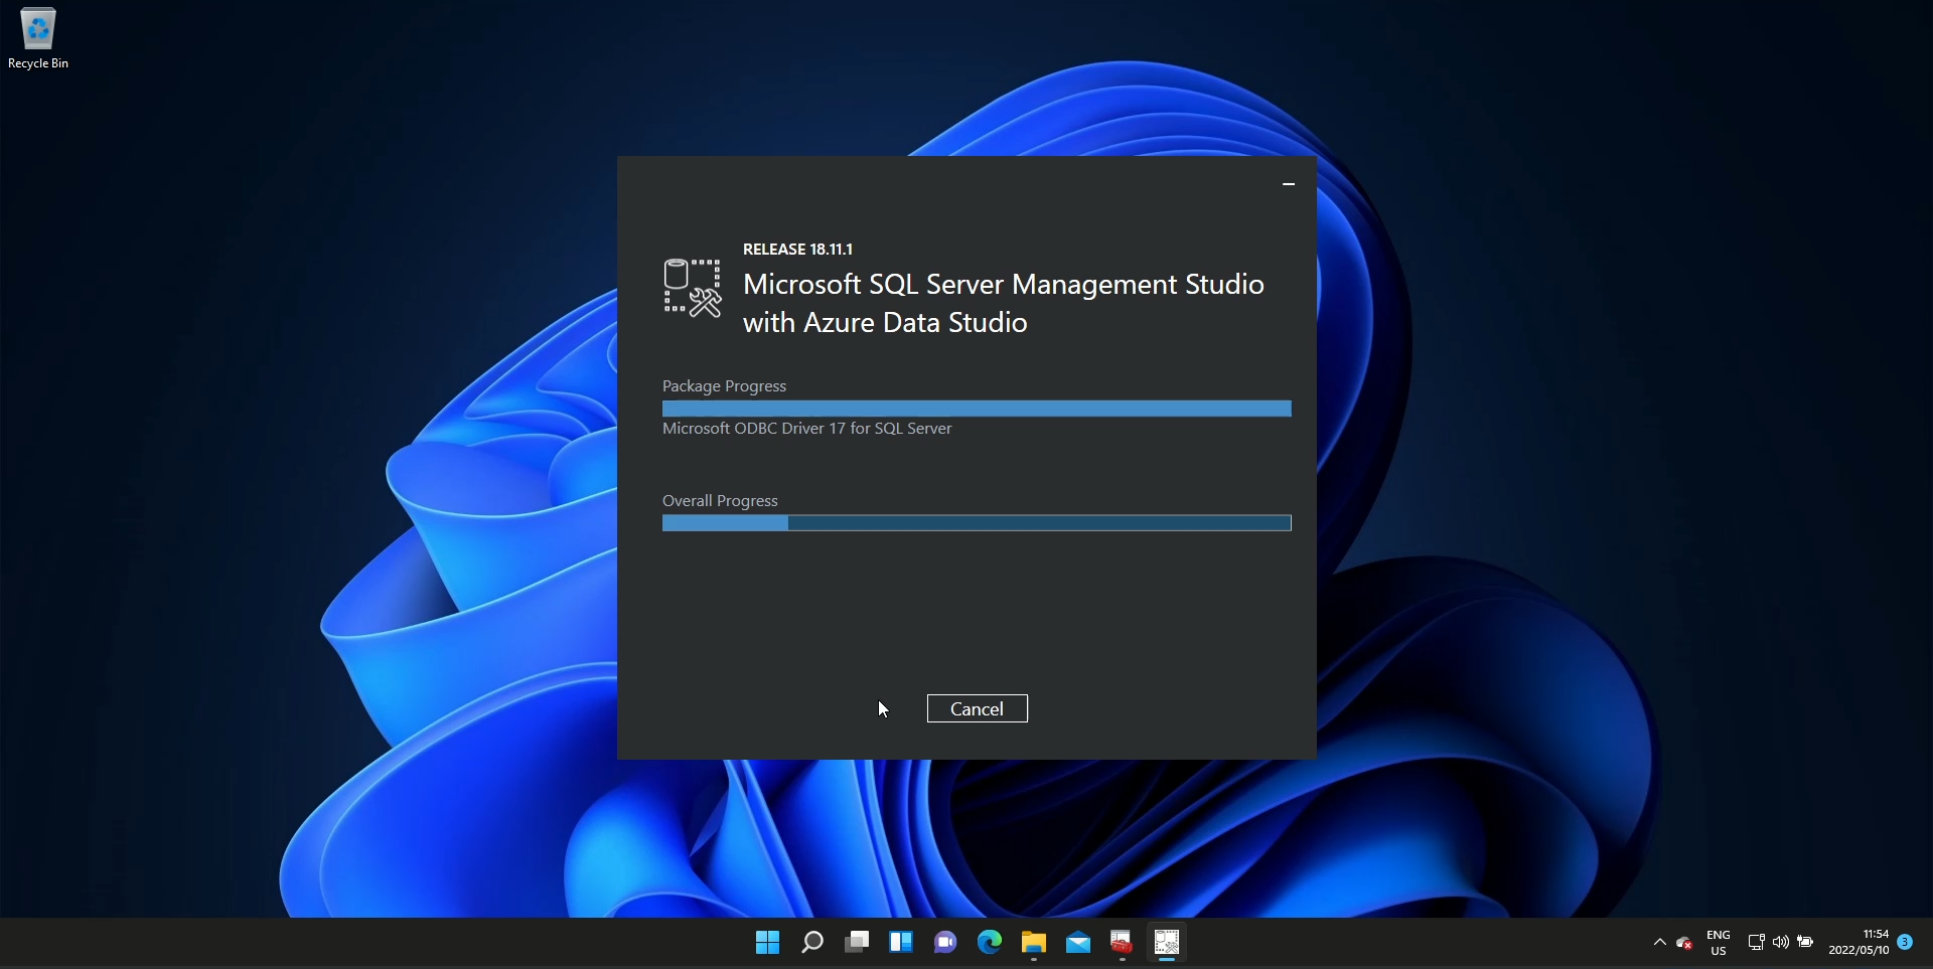
Step 10: SSMS installation commences
While the installer is running, let’s consider the performance limitations of MS SQL Express. ‘Express’ can be substituted with ‘Lite’ (which is why it’s free, and doesn’t carry the restrictive licensing of commercial MS SQL editions):
- Max. Compute Capacity (per instance): Lesser of 1 socket / 4 cores
- Max. Buffer Pool Memory (per instance): 1410MB
- Maximum database size: 10GB
- SQL Server Agent: No
Source: Express DB
Step 11: Restart your computer
The end is nigh… and all you have to do to get closer to that final hurdle is restart your computer. Click Restart.

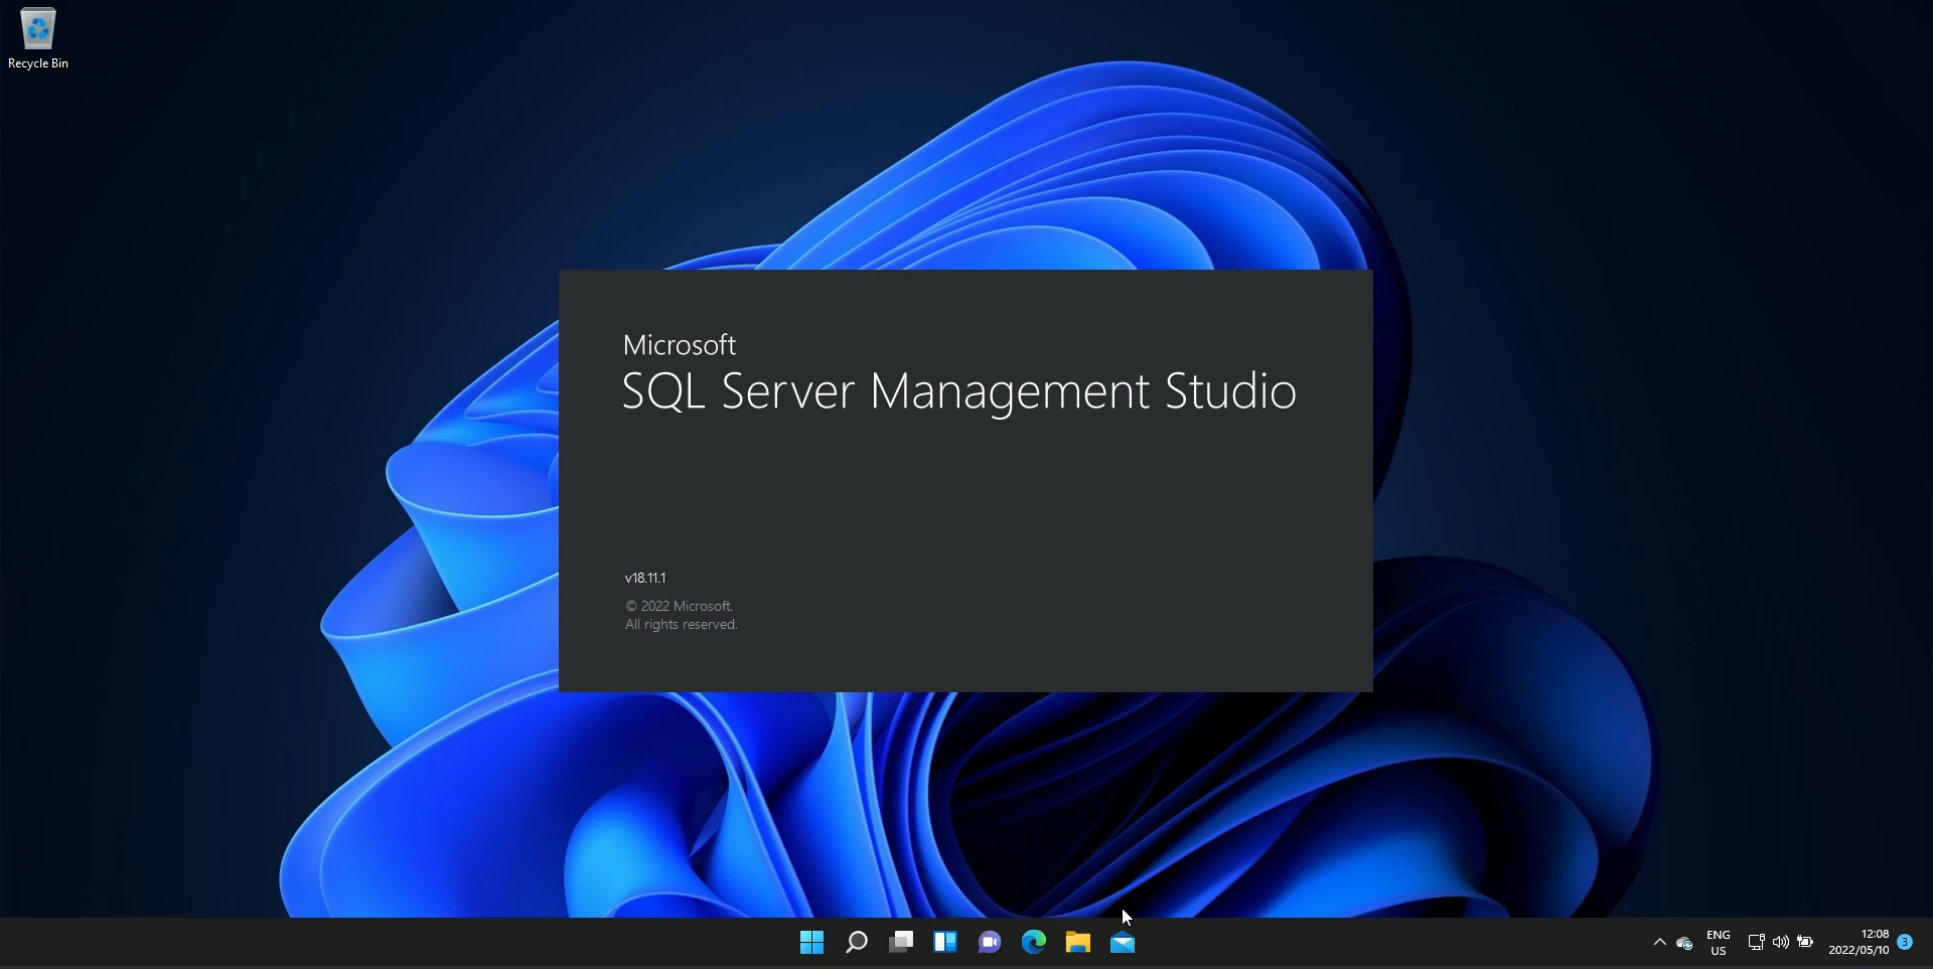
Step 12: Launch SQL Server Management Studio
Once your computer has restarted, click on the Windows start icon and type “SQL Server Management Studio”. Locate and click on the launcher in the list of apps.
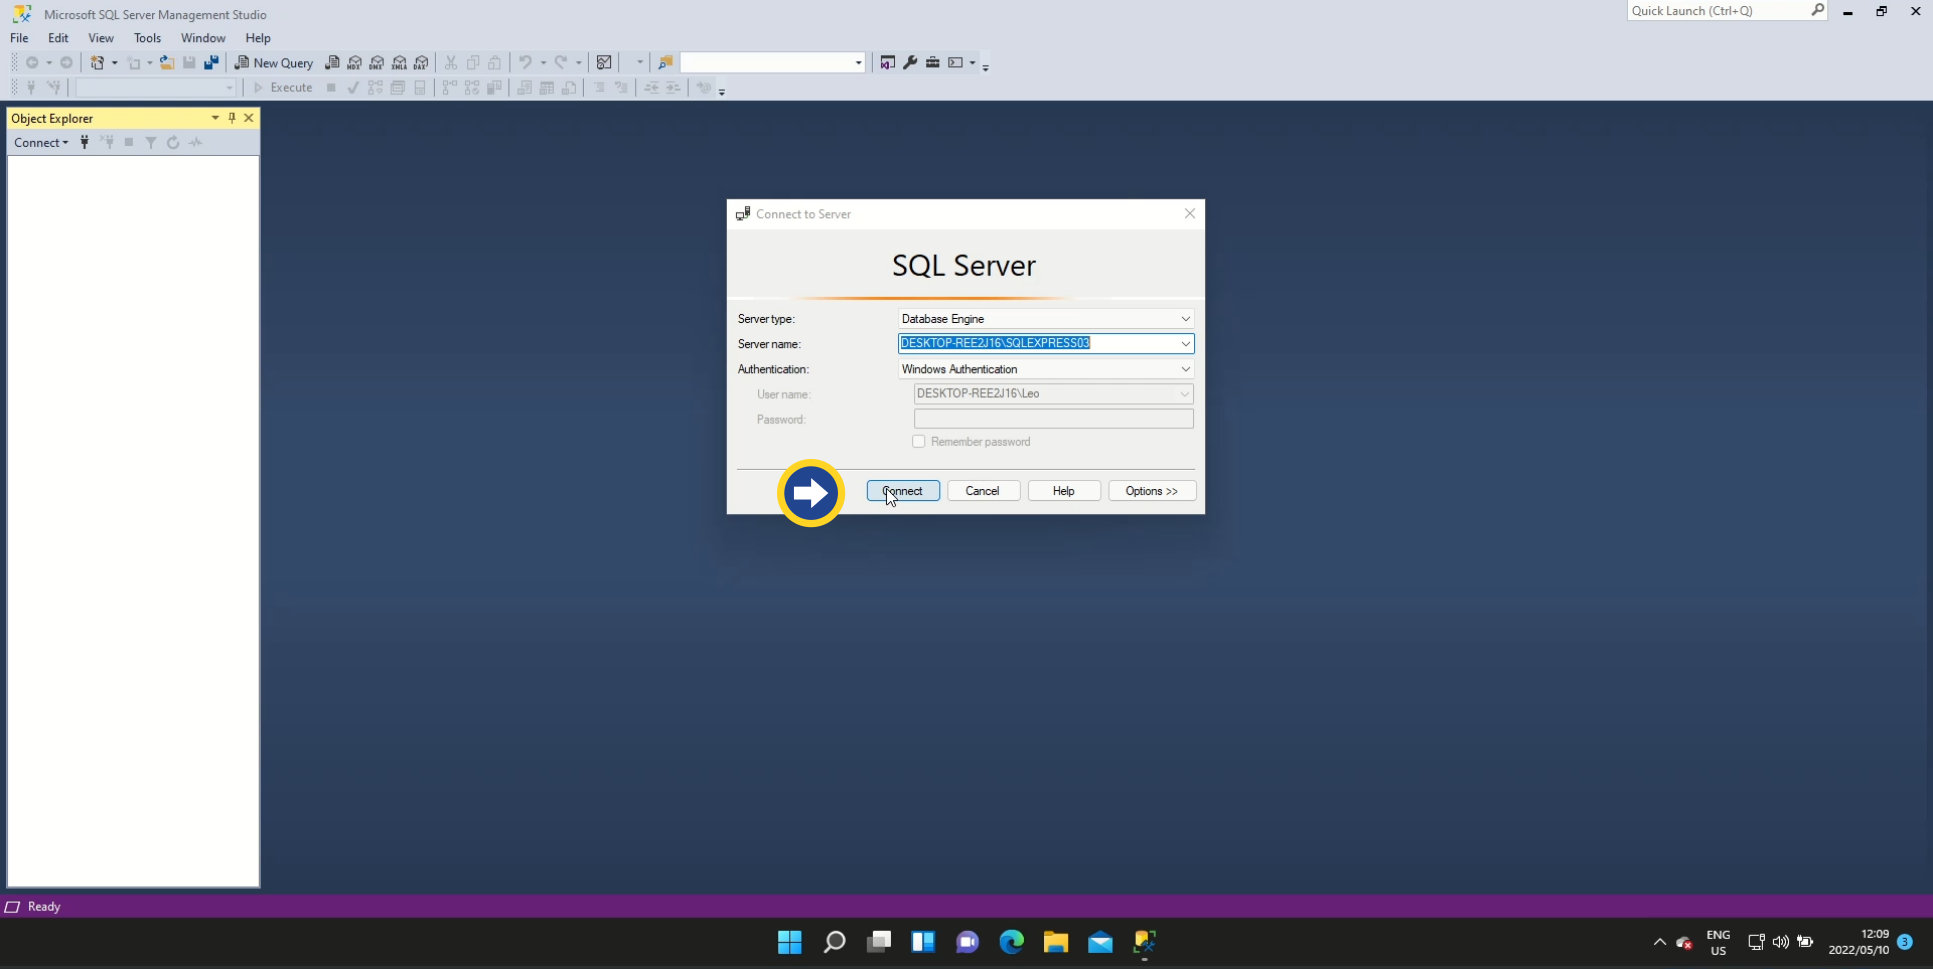
Step 13: Connect to your instance
Once SQL Server Management Studio has loaded, the ‘Connect to Server’ dialog pops up. In most cases, all the necessary defaults will be in place, which means we can simply click Connect. But, it’s worth exploring each of the provided options if your goal is to delve deeper into the MS SQL data platform:
- Server Type
- Database Engine (used for storing and processing data) – this is the default which we’ll use to create a database
- Analysis Services (data analysis and mining)
- Reporting Services (create, deploy, and manage reports)
- Integration Services (a data warehousing tool used for data management and migration tasks)
- Azure SSIS Integration Runtime (same as above, but integrates with Microsoft’s Azure)
- Server Name
- Every time you run the MS SQL Express installer, a new instance of SQL Server will be installed. Think of an instance as a warehouse that contains databases and other data sets. Every installed instance has its own Server Name. This helps keep things nice and tidy when, say, you’re running two or more businesses. Each business can have its own instance.
- Authentication
- Given that we left all the defaults in place during the installation, we’ll be using Windows Authentication.
Click Connect.
Step 14: Create a database
Once we’ve connected to our desired instance, we’ll be presented with a blank screen. On the left, you should see the Object Explorer pane with your Server Name \ Instance Name at the top of the tree. Expand the tree by clicking on the plus.
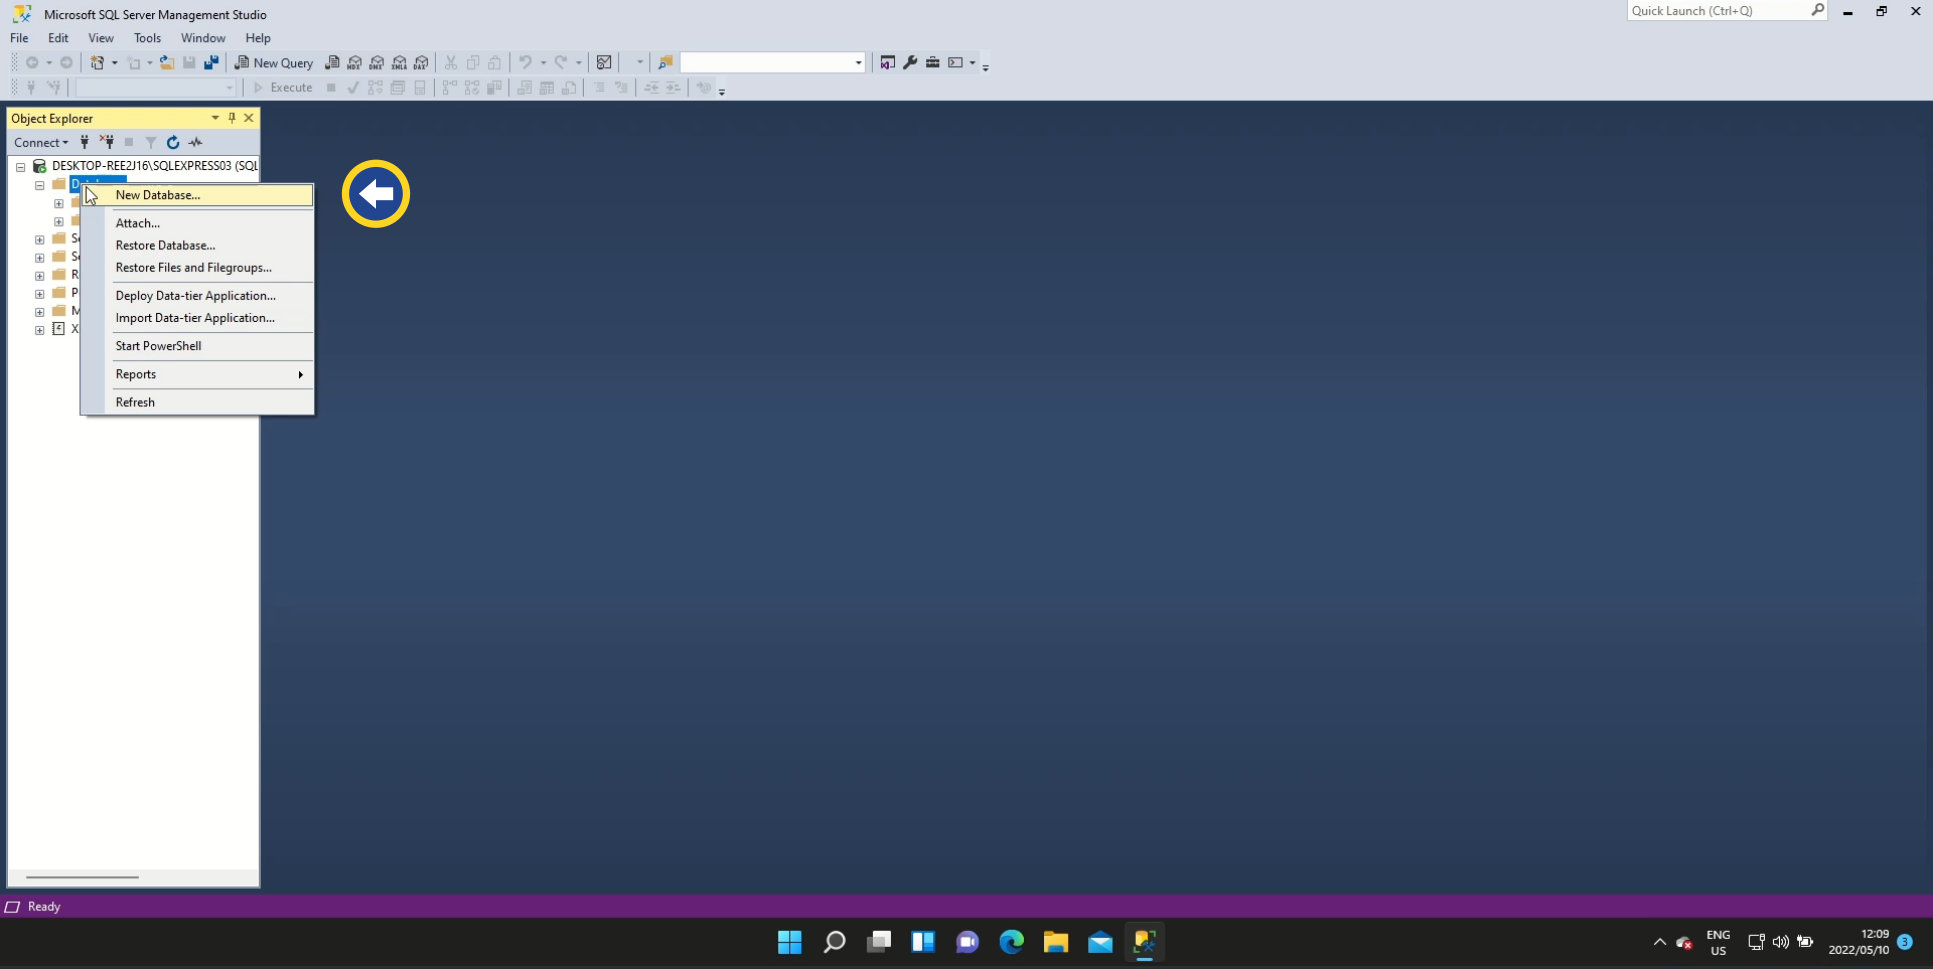
Right-click on ‘Databases’ and click New Database.
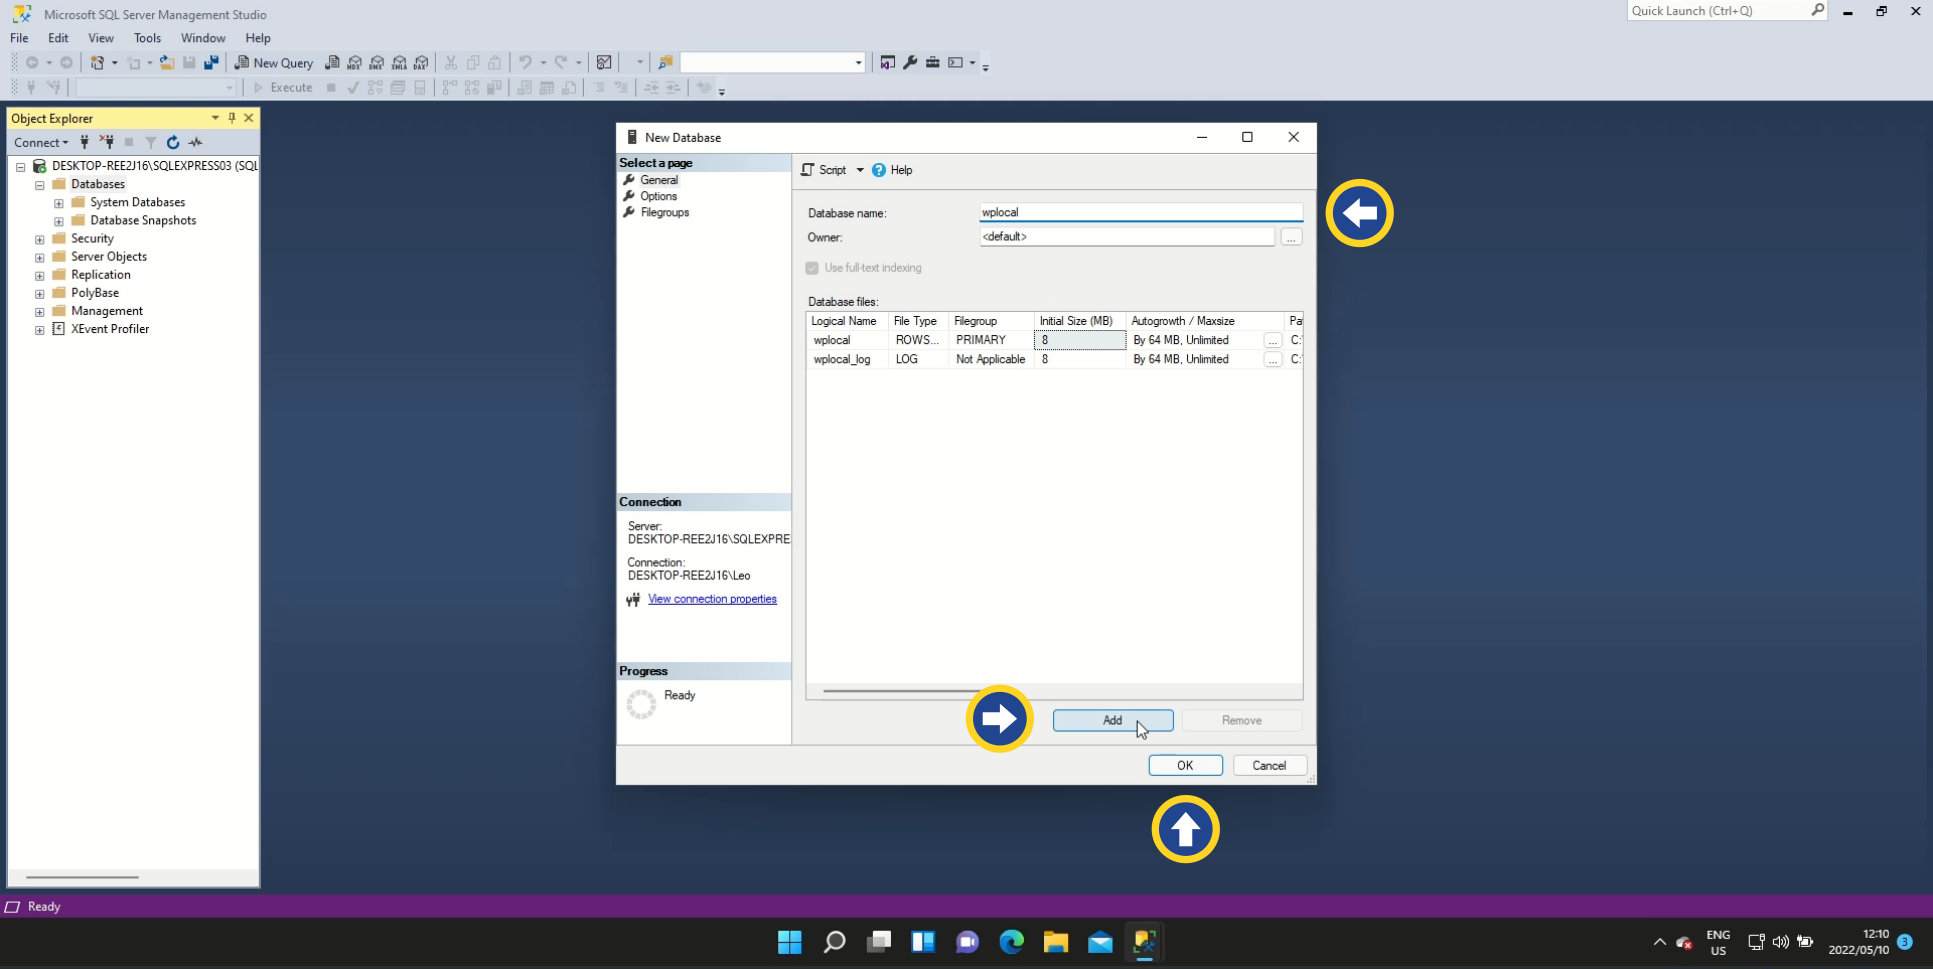
Step 15: Give your database a name
The New Database dialog appears and may seem daunting. All we need to do is to choose a name for our database in the ‘Database name:’ field and click Add.
When you’ve added your database, click OK.
A note on database names: MS SQL Server Express will allow you to include virtually any character in your database’s name. This doesn’t mean it’s a good idea to call your database “John’s Fluffy Animals & Sundry”, for example.
Some applications may not accept database names containing special characters, including spaces, because it falls outside the scope of an established naming convention. As such, it’s recommended to name your database using only the following characters:
- lowercase a through to z
- capital A through to Z
- 0 through to 9
- the underscore ( _ )
- the hyphen ( – )
On a final note, security best practices suggest that your database name should be hard to guess. This provides a small but important measure of information security.
More related news
Cloud Hosting
Cloud Server vs VPS: What’s the Difference and Which Is Better for Your Business?
If you’re running a SaaS platform, digital agency, ecommerce store, education portal,...

Developers
Low-code + custom: when to use low-code tools in your SaaS stack (and when not to)
Low-code has become a practical part of many SaaS stacks – because...

SaaS
Managing Unplanned Growth: Autoscaling & Cost Controls for Burst Traffic
When growth arrives unannounced – viral link, investor announcement, seasonal rush –...
Speak with a Storm Expert
Please leave us your details and we'll be in touch shortly
A Trusted Partner