Payload seeks to redefine what a headless content management system can be: one that’s both intuitive for developers and authors while at the same time focused on cost and time efficiency. If you have a javascript package manager on your server, installing Payload CMS is easy. The tutorial below includes installation of the required software (NPM, Node.js, and MongoDB) and Payload CMS.
What Is a Headless CMS?
A headless CMS is a modern approach to content management. It separates the back-end content repository (“the body”) from the front-end presentation layer (“the head”), which allows developers to use any front-end tool to display the content.
Using a headless CMS gives you the benefit of consistent messaging from one central location, freeing authors and editors from managing their content across multiple systems. A headless CMS also brings a number of other important benefits to the table.
Benefits of a Headless CMS
- Omnichannel Delivery: A headless CMS facilitates content delivery across multiple channels and devices seamlessly. By serving content through APIs, it ensures a consistent experience whether the content is displayed on a website, mobile app, or IoT device.
- Enhanced Flexibility: Developers are free to choose their front-end technology stack. This flexibility allows for the use of modern frameworks and technologies, leading to more creative and responsive designs.
- Improved Performance: Without the overhead of a front-end system, a headless CMS can deliver content faster. This efficiency is particularly beneficial for websites and applications that require high performance and speed.
- Better Security: The separation of content management and content delivery layers reduces the risk of direct attacks on the CMS, leading to enhanced security.
- Ease of Updates and Scalability: As business needs evolve, a headless CMS makes it easier to update the website or application without a complete overhaul. It scales smoothly as the amount of content or the number of channels grows.
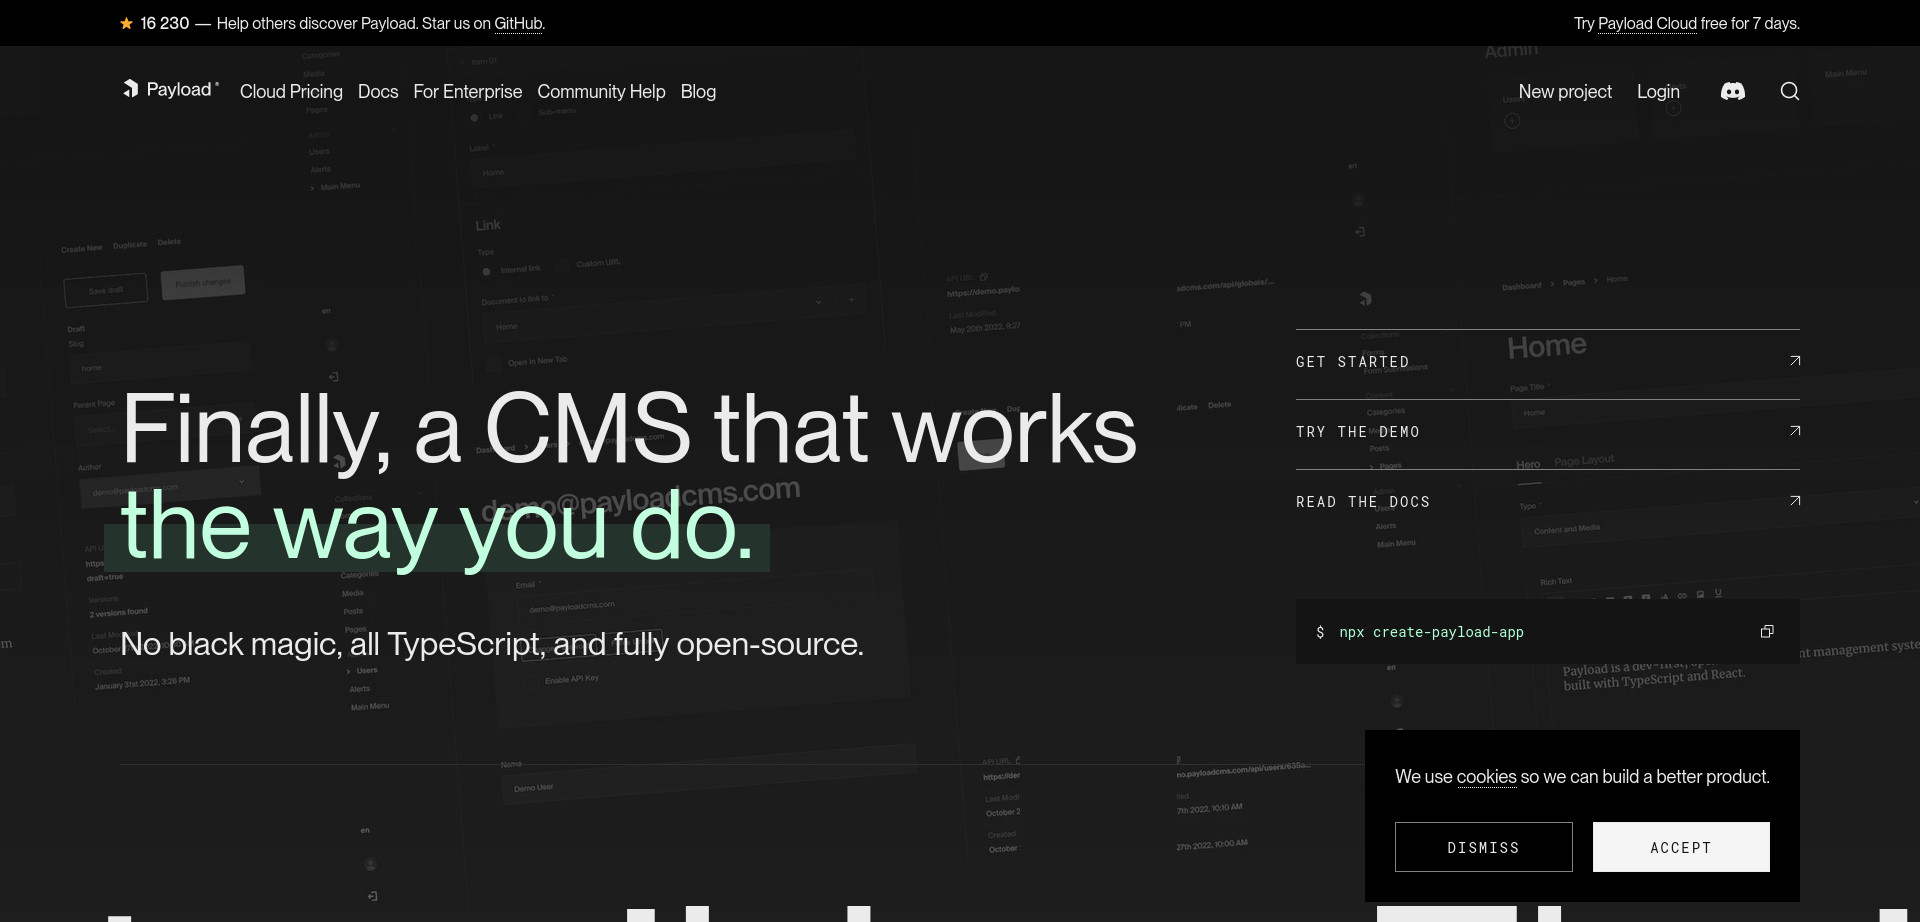
Payload – A Self-hosted Headless CMS
Payload is about blazing speed, unwavering security, and unparalleled flexibility. The headless CMS boasts a dynamic, customizable admin UI, robust and reusable authentication, and features like content localization, local file storage, and extremely flexible access control. It also includes field conditional logic, block-based layout building, and an array of field types to offer a comprehensive solution.
According to the team behind Payload, it’s not just a tool; it’s the culmination of a decade of insights, designed to meet the evolving needs of modern web and app development.
How to Install Payload CMS
Payload requires the following software to run:
- A JavaScript package manager (Yarn, NPM, or pnpm)
- Node.js version 16+
- A compatible database (MongoDB or Postgres)
Follow the steps below to install NPM, MongoDB, and finally Payload CMS.
Install NPM on Ubuntu 22.04
Installing npm (Node Package Manager) on an Ubuntu 22.04 server is a straightforward process that enables you to manage Node.js packages with ease. npm is used by developers to install, share, and manage dependencies in their projects.
Step 1: Update Your System
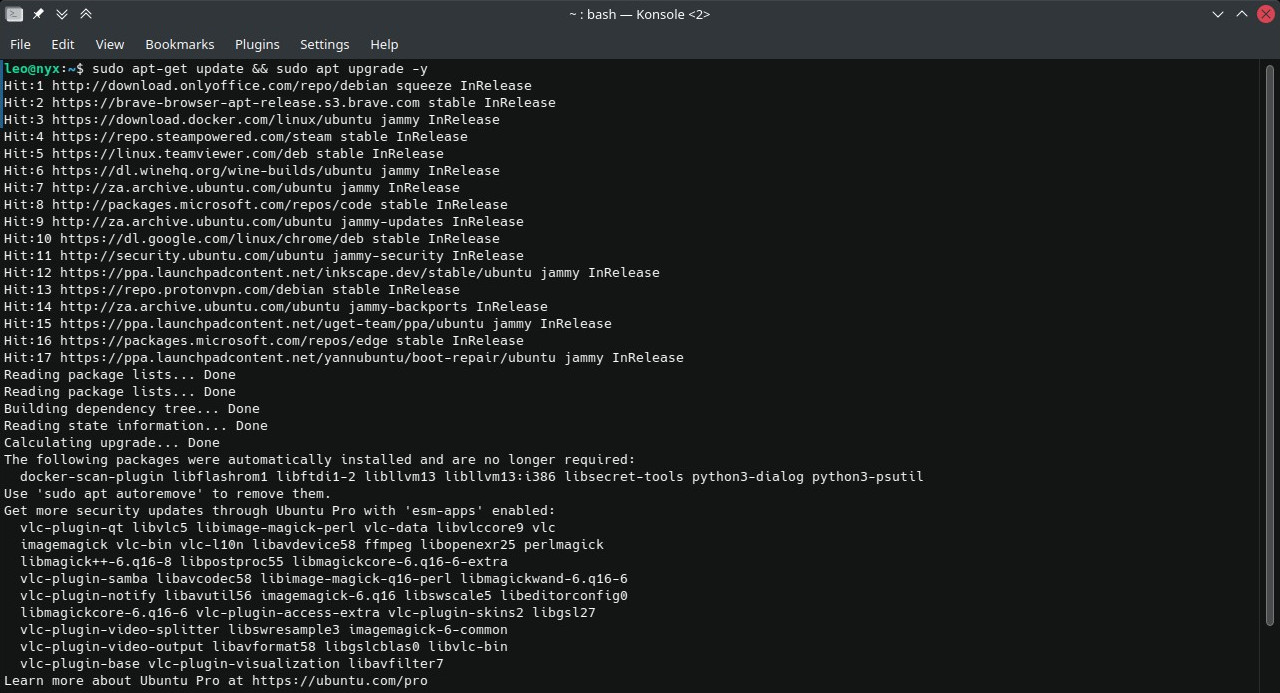
It’s good practice to update your system’s package list before installing new software. Open your terminal and run the following command:
sudo apt-get update
This ensures that all your software is up to date, and reduces the risk of conflicts.
Step 2: Install Node.js
Since Payload CMS requires Node.js version 16 or higher, it’s recommended that you install Node.js from the NodeSource GitHub page. For an Ubuntu 22.04 system, the following commands installed Node.js 16:
sudo apt-get install -y ca-certificates curl gnupg
sudo mkdir -p /etc/apt/keyrings
curl -fsSL https://deb.nodesource.com/gpgkey/nodesource-repo.gpg.key | sudo gpg --dearmor -o /etc/apt/keyrings/nodesource.gpg
NODE_MAJOR=16
echo "deb [signed-by=/etc/apt/keyrings/nodesource.gpg] https://deb.nodesource.com/node_$NODE_MAJOR.x nodistro main" | sudo tee /etc/apt/sources.list.d/nodesource.list
sudo apt-get update
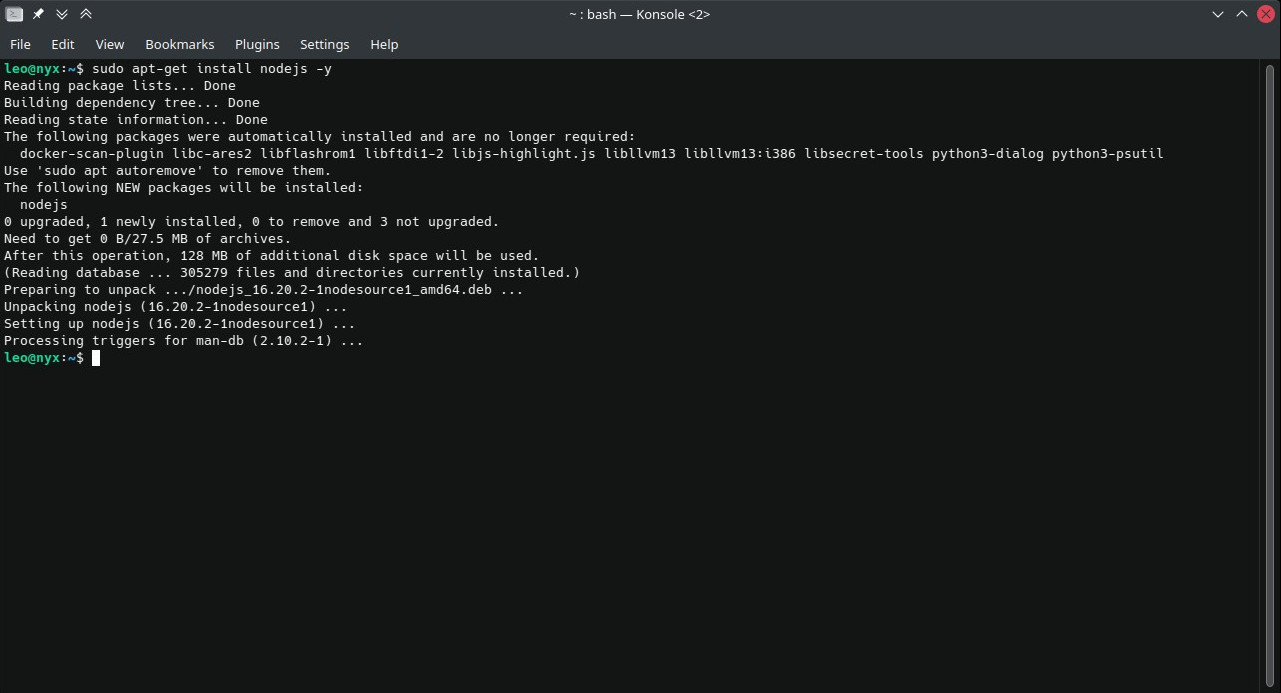
sudo apt-get install nodejs -y
npm is distributed with Node.js, which means that when you install Node.js, npm is automatically installed.
After the installation process is complete, verify that Node.js have been successfully installed. You can check its version to ensure everything is correctly set up:
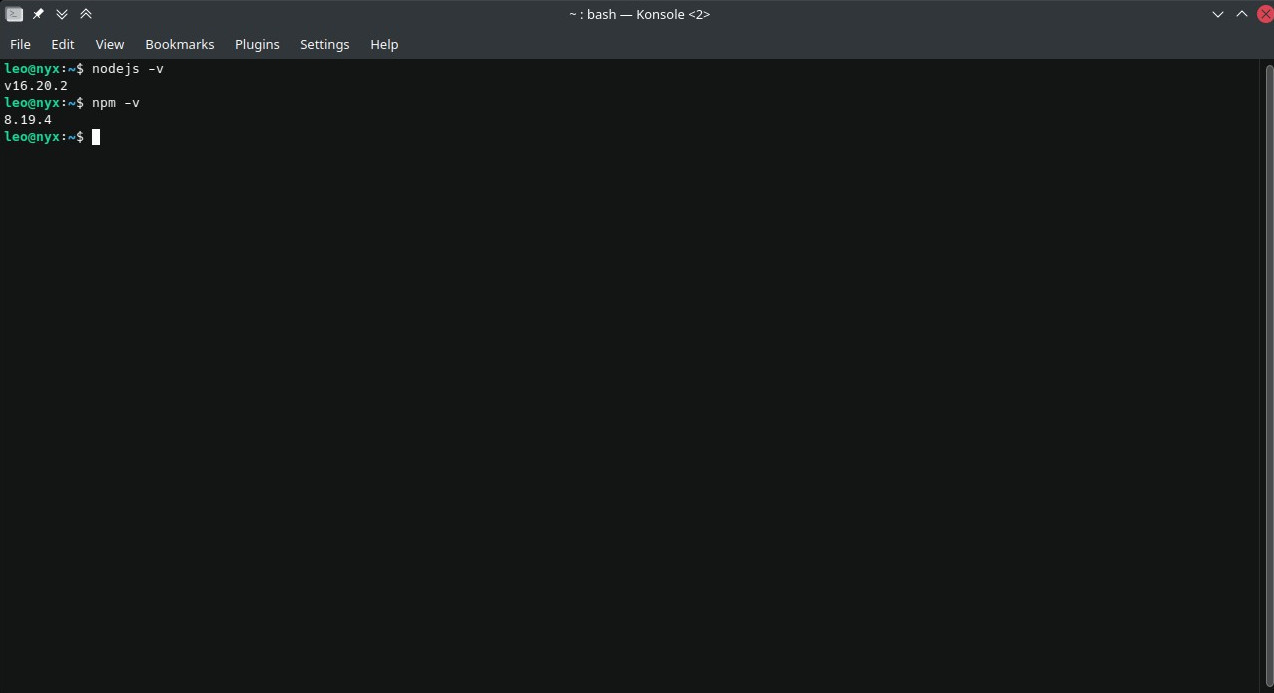
node -v
Then, verify the npm version:
npm -v
These commands will display the installed versions of Node.js and npm, respectively.
Installing MongoDB on Ubuntu 22.04 Server for Use with Payload CMS
MongoDB, a popular NoSQL database, is known for its flexibility and scalability, making it a perfect match for modern applications like Payload CMS. This tutorial will guide you through the installation of MongoDB on an Ubuntu 22.04 server and setting up a database for use with Payload CMS.
Step 1: Update Your System
First and foremost, ensure your system’s package list is up to date. Open your terminal and execute:
sudo apt-get update
sudo apt upgrade
This step ensures your system is updated with the latest packages and security patches.
Step 2: Import the public key
Both curl and gnupg were installed in the first part of this tutorial. However, if you need to install them again, run the following command:
sudo apt-get install gnupg curl
Then, to import the MongoDB public GPG key:
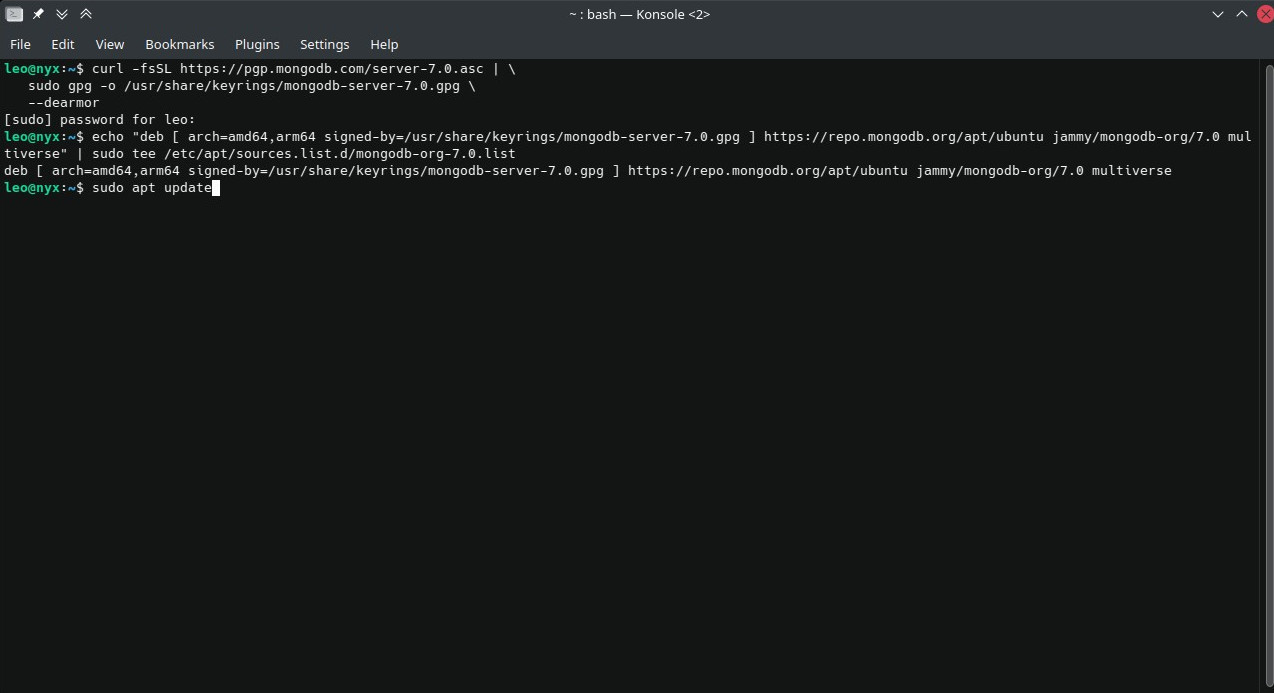
curl -fsSL https://pgp.mongodb.com/server-7.0.asc | \
sudo gpg -o /usr/share/keyrings/mongodb-server-7.0.gpg \
--dearmor
Step 3: Create a list file
A list file is a file that defines an external repository from which additional software packages can be downloaded and installed. For MongoDB, the list file /etc/apt/sources.list.d/mongodb-org-7.0.list is created with the following command:
echo "deb [ arch=amd64,arm64 signed-by=/usr/share/keyrings/mongodb-server-7.0.gpg ] https://repo.mongodb.org/apt/ubuntu jammy/mongodb-org/7.0 multiverse" | sudo tee /etc/apt/sources.list.d/mongodb-org-7.0.list
Then, reload the package database:
sudo apt-get update
Step 4: Install MongoDB
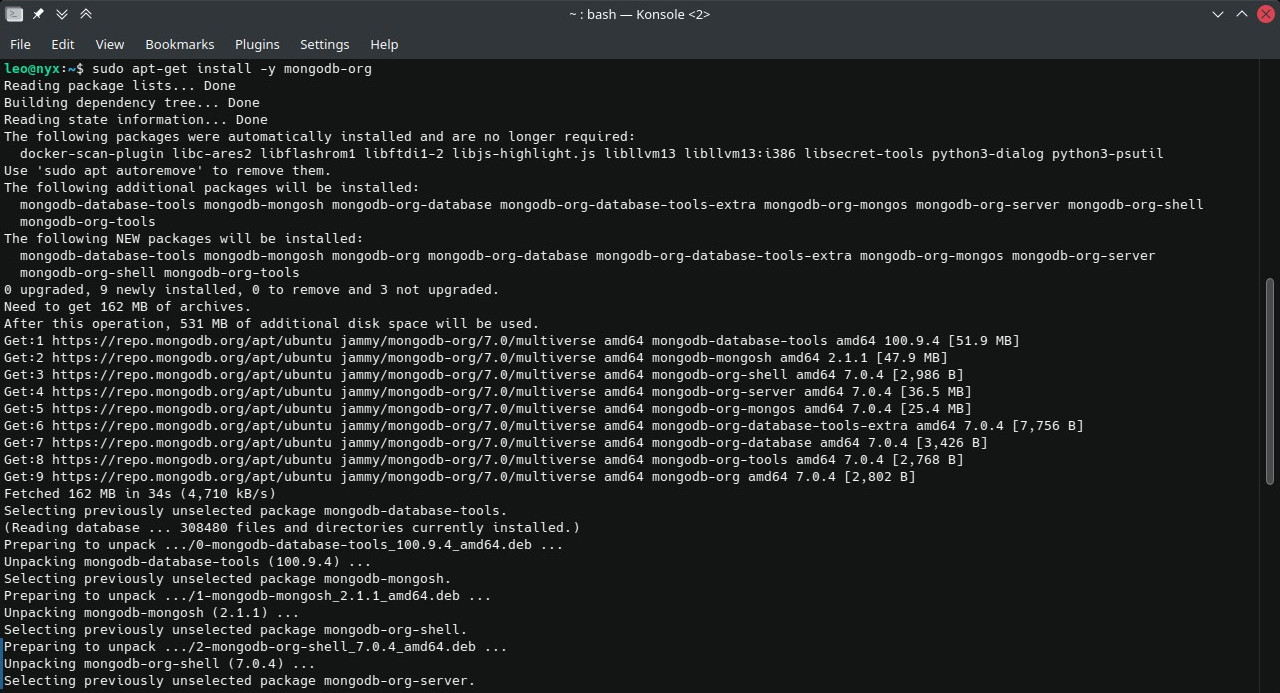
Finally, install MongoDB:
sudo apt-get install -y mongodb-org
Step 5: Start and Verify MongoDB
Once installed, start the MongoDB service:
sudo systemctl start mongod
Enable MongoDB to start on boot:
sudo systemctl enable mongod
Check the status of the MongoDB service:
sudo systemctl status mongod
This command will confirm that MongoDB is running.
Step 6: Create a MongoDB Database for Payload CMS
To use MongoDB with Payload CMS, you’ll need to create a database. Access the MongoDB shell with:
mongosh
In the MongoDB shell, create a new database.
use payload-test
This command creates a new database named payload-test. You can name your database as per your preference – just make a note of it since it’ll be needed during the Payload CMS setup.
Create a Payload Project
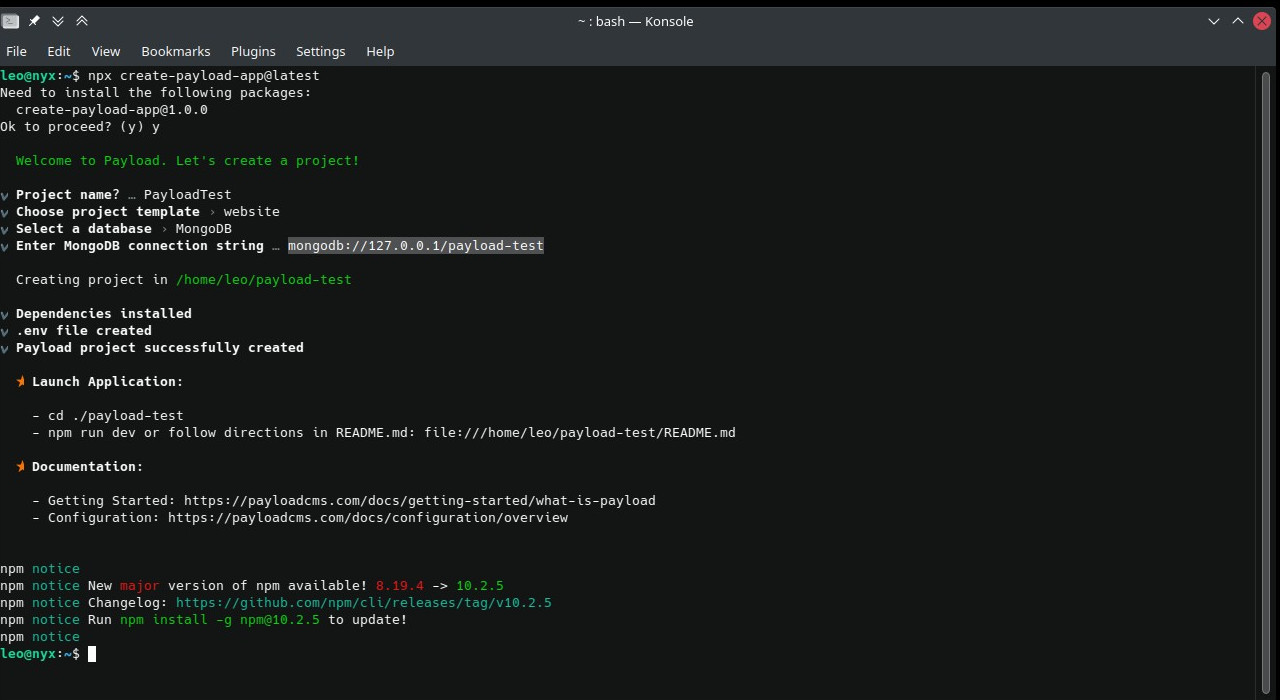
Getting started with your first Payload project is easy with the following command:
npx create-payload-app@latest
Run the command and follow the prompts to get your Payload project created automatically.